A pre-ride inspection not only helps with safety but also prevents any breakdown on the road.
Here are the things you must check as pre-ride inspection:
- Fuel level
- Tire pressure
- Chain slack and lubrication
- Engine oil levels
- Brakes – operation and fluid levels
- Lights and Horn
- Clutch free play
- Throttle responsiveness
- Handlebar controls
All these checks should be carried out before you go for a ride.
And a must for long rides and after long periods of storage to determine if any additional maintenance is necessary.
#1. Check fuel level
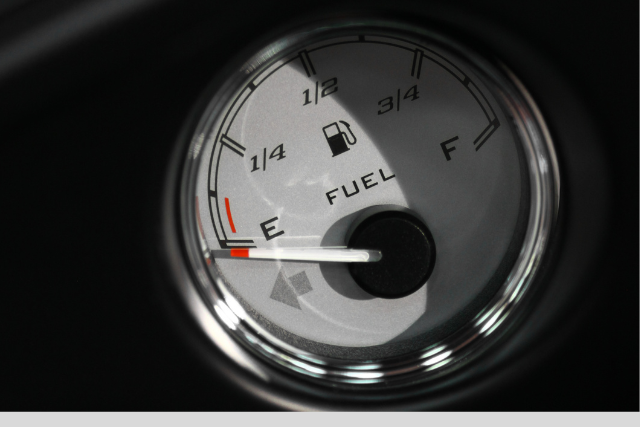
The first thing to inspect before starting your motorcycle ride is to check the fuel level.
Without sufficient fuel, your motorcycle will stop while running. After you have traveled some distance of course.
So, how to check the fuel level?
Look at the fuel gauge.
The fuel gauge – either mechanical or digital – shows you the current fuel level in the motorcycle gas tank.
In case your motorcycle does not have a fuel gauge, you should open the gas tank and check manually.
A few riders shake the motorcycle horizontally to and fro to hear the fuel splashing the gas tank sound. The more intensity of the splashing sound, the more fuel in the tank.
If there isn’t enough fuel, refill the gas tank.
For carbureted motorcycles, even if the main tank runs out of gas, there is a reserve tank to fall back on.
But for EFI motorcycles, you must make sure the fuel level is good.
#2. Tire pressure
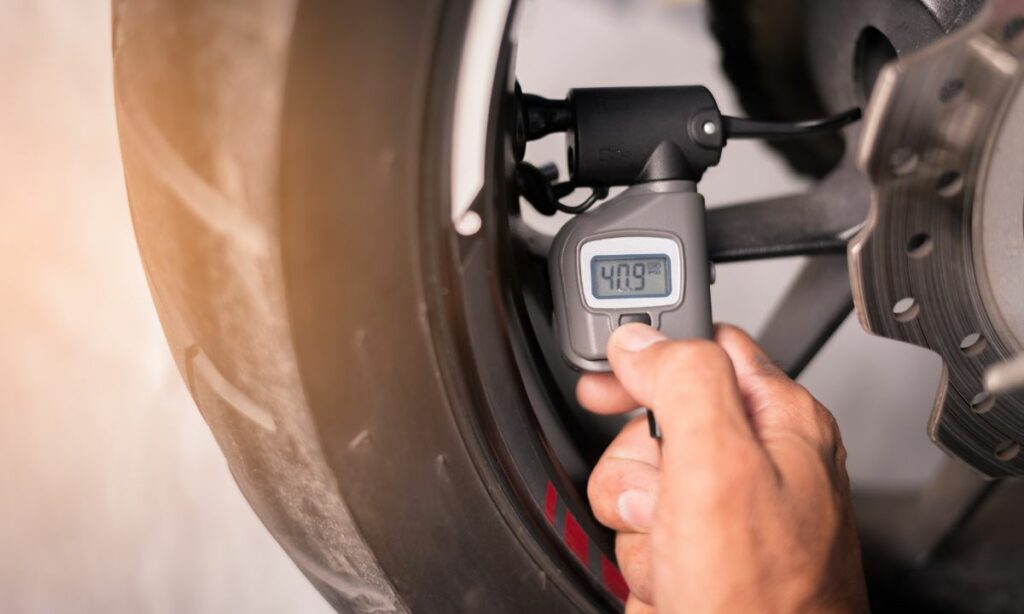
Second, check if the tires – both rear and front tires – have sufficient air pressure.
If you have left your motorcycle to sit for long, you must also check for deflated tires and punctures.
If the tires do not have enough air pressure, fill the air.
The recommended PSI for the tires will be explicitly mentioned in the bike’s user manual. You can refer them.
Note: The PSI recommendation will be separate for the front tire and the rear tire. The rear tire will have higher PSI than the front tire.
Make sure the tire pressure is at the optimum PSI levels.
If the tire PSI is less than the required PSI, then the tire contact surface with the road will be higher. And when this contact area increases, the friction between the road and the motorcycle increases as well.
So make sure the tires have air in them before starting your ride.
If there isn’t sufficient air in either of the tires, the motorcycle starts to jerk towards one side.
#3. Chain slack and lubrication
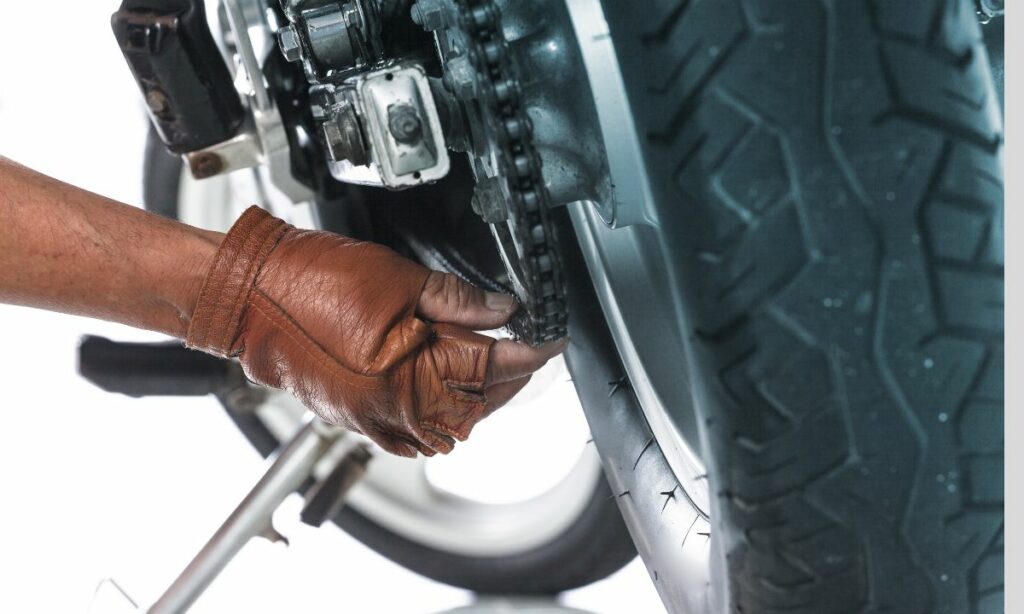
Next up. Make sure the chain is not loosened and is sufficiently lubricated.
If you feel the chain slack is not right, you should measure the slack and tighten the chain.
Same thing for lubrication.
The chain must be clean and well lubricated.
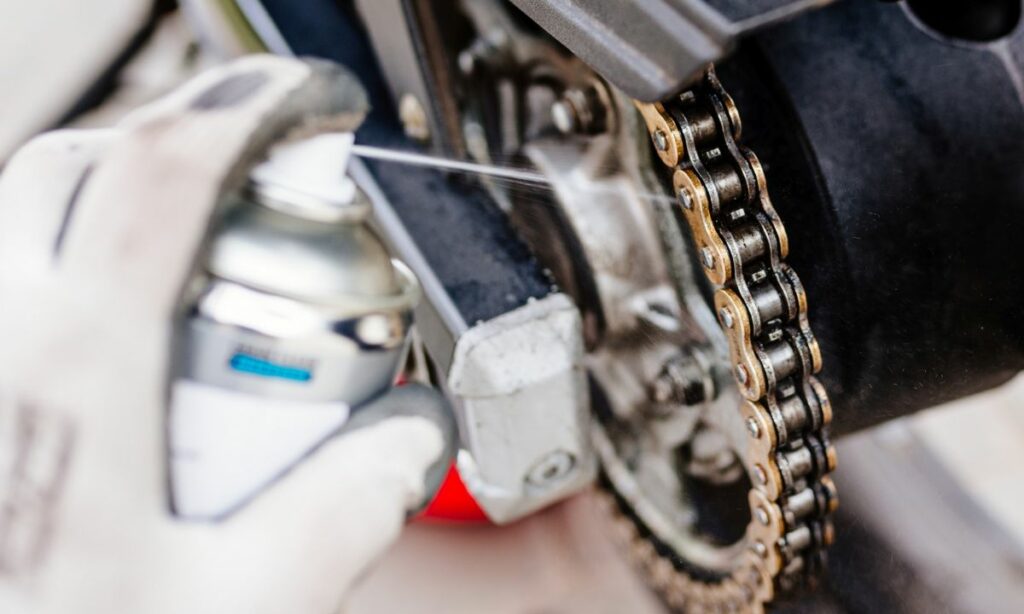
If not, too much dirt or not enough lubrication can cause the chain to become noisy. You will start heading chain sounds while riding.
So, ensure proper chain maintenance.
If the chain is loosened in your motorcycle, the resulting effects include – i) chain skipping over teeth, ii) jerky wheel movements, iii) chain coming off the sprocket, etc.
If you are frequently cleaning, lubricating, and adjusting the chain slack frequently – there shouldn’t be much work here during pre-ride inspections.
#4. Engine oil levels
Low engine oil levels are another concern.
Before starting your motorcycle ride, especially if it’s after a long time, check the engine oil level.
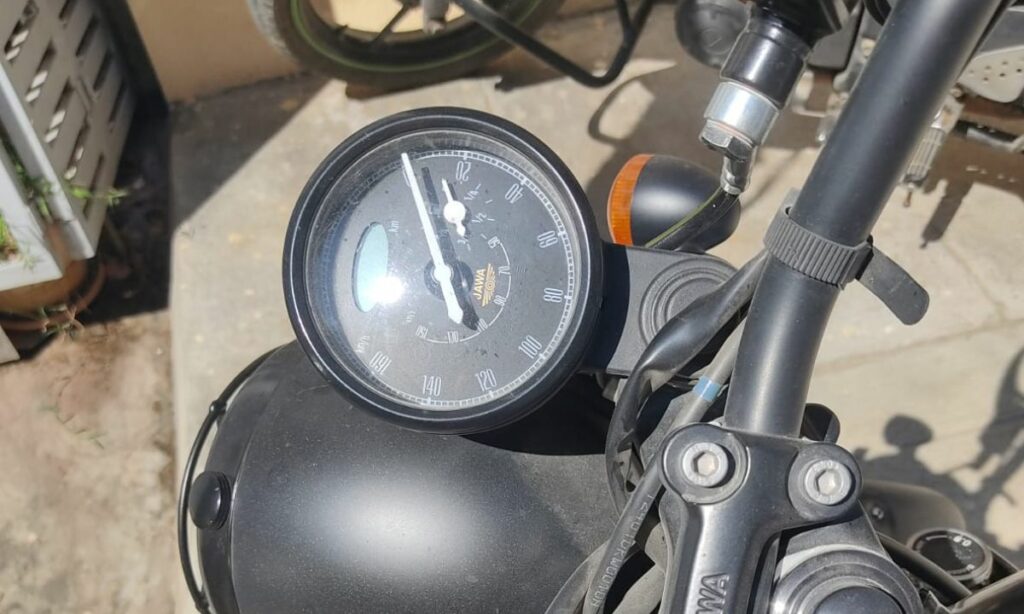
Few modern motorcycles have the oil levels displayed on the odometer digital display.
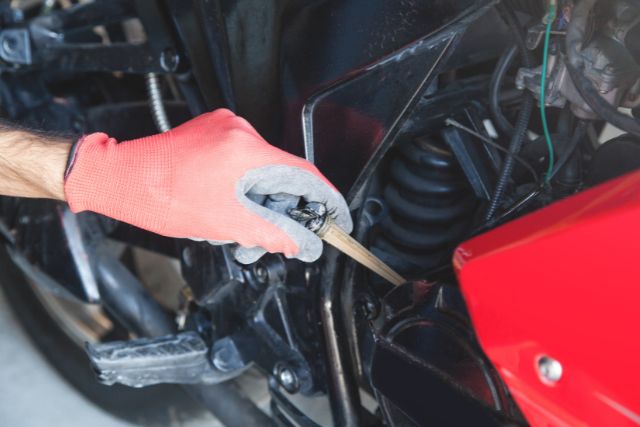
But for most motorcycles, you have to check the oil dipstick.
The oil dipstick will be marked with two levels. The top mark is for ‘full’ and the bottom mark is for ‘low’.
The oil level should be between the top and bottom marks, i.e., falling between the full and low oil levels.
While checking the oil levels, check the oil quality as well.
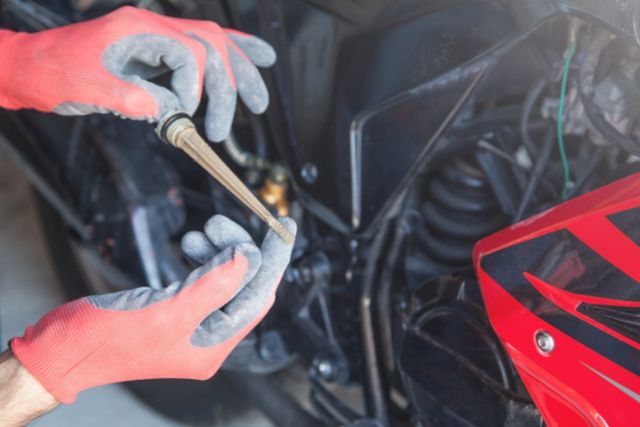
Look into the color, smell, and stickiness of the engine oil.
The oil should be brown or lighter in color, should not have a burnt smell, and should not be sticky in condition.
If not, it is no longer in good condition. And its time to change the oil.
#5. Brakes – operation and fluid levels
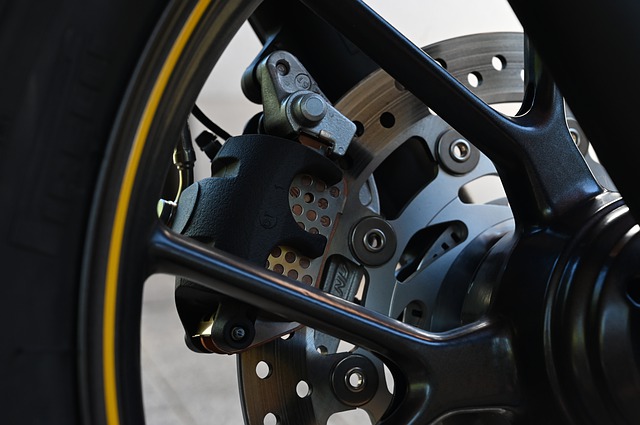
Next, make sure the brakes are working fine.
Both the rear brake and the front brake should be in good working condition.
In addition, the brake fluid levels should be on point as well.
You can even go one step ahead and check the brake pad thickness.
If the brake pad friction material is less than 1/16 inch, the brake pads must be replaced immediately.
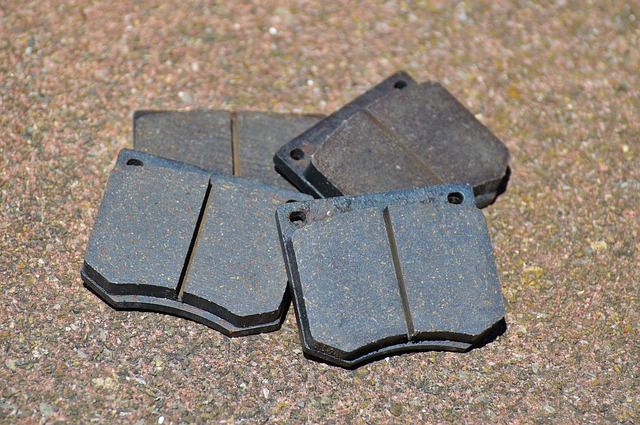
Of course, this is not mandatory. But you must do this exercise once in a while.
The same goes for the brake fluid.
If the brake fluid is more than 2 years old, replace the fluid. Overtime the brake fluid absorbs moisture and along with the heat cycles – the fluid quality deteriorates.
To keep it concise, the pre-ride inspection for brakes includes:
- Check the rear brake functioning
- Check the front brake functioning
- Check the brake responsiveness – tells a lot about brake fluid levels
Once in a while, check the brake pad thickness and the brake fluid levels as well.
#6. Lights and Horn

Electrical accessories are next on our pre-ride checklist.
First, examine the horn sound.
So press the horn button.
Is the horn loud enough? If yes, great. If not, you have to inspect for horn problems.
Second, check all the lights. They all should be working properly.
These lights include:
- Headlight
- Backlight
- Brake lights
- Turn indicator lights
All these lights should be in good condition.

If the headlight is dim or any other lights not working, you need to inspect the lights thoroughly.
For pre-ride inspection, as long as the lights are glowing bright, you are good to go.
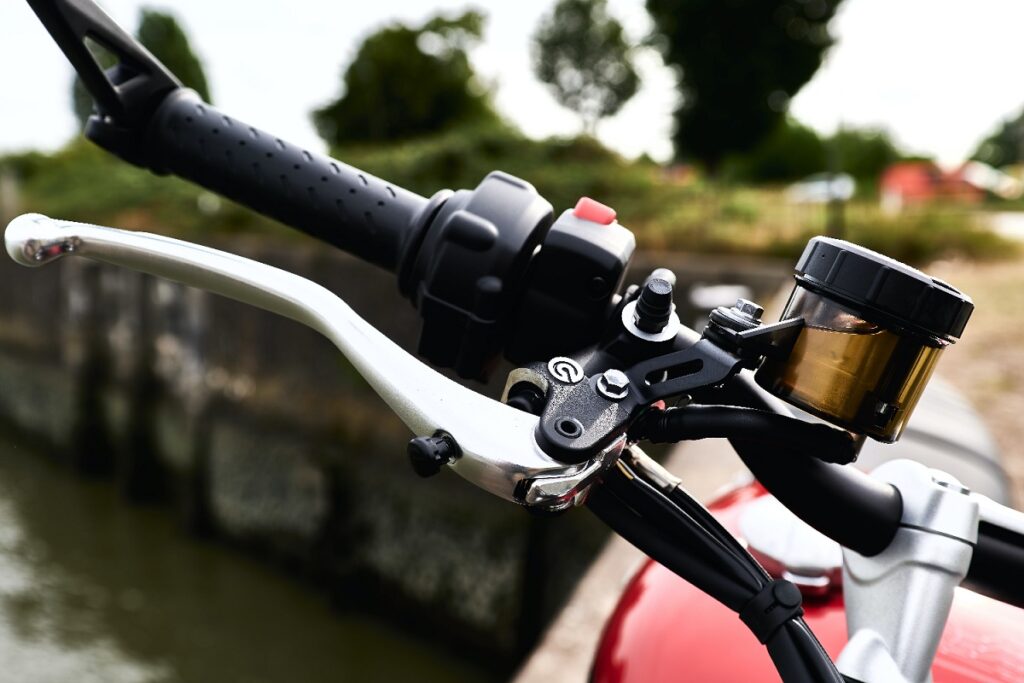
#7. Clutch free play

Next up, ensure that the clutch lever has sufficient free play. The clutch shouldn’t feel too tight and not too loose as well.
Too much slack can make the clutch slip, not providing any slack isn’t good either.
If the clutch lever is too tight without any free play, then pulling the clutch wire completely will not be enough to fully release the clutch plates.
Similarly, if the clutch lever has too much free play, you need to pull the clutch lever all the way in for every single gear change.
So check the free play.
All motorcycle user manuals recommend a free play in the clutch lever, usually around 1cm to 2cm. Check the specifications in your bike’s user manual before making this adjustment.
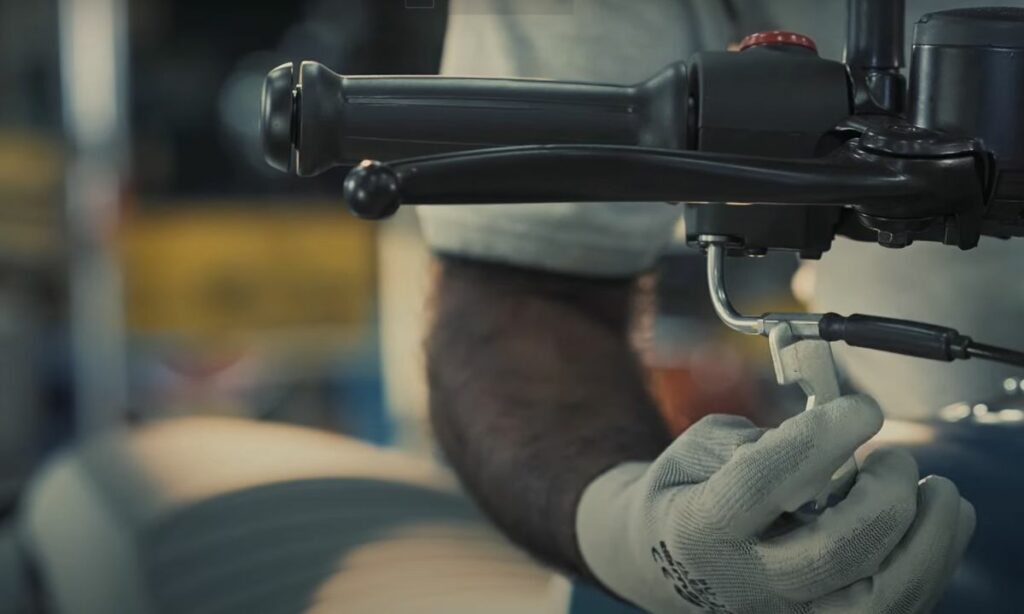
#8. Throttle responsiveness
Now we move to the right side of the handlebar. And inspect the throttle.
The motorcycle should accelerate and decelerate depending on which side we are twisting the throttle.
The speeding up or down should come with a quick response time to our throttle twisting. That’s what responsiveness is about.
So make sure the throttle response is fast enough.
If not, the throttle cable slack is not right.
For pre-ride inspection checking the throttle response is more than enough.
But if you feel the throttle slack is either too much or too low, then you must address it.
We have covered in detail how to adjust the throttle cable slack. Here’s the gist:
- Locate the locknut on the throttle cable
- Slide the protective cover
- Tighten the locknut with a spanner
- Leave a slack of 2-3mm
- The throttle cable is adjusted
That should do the trick.
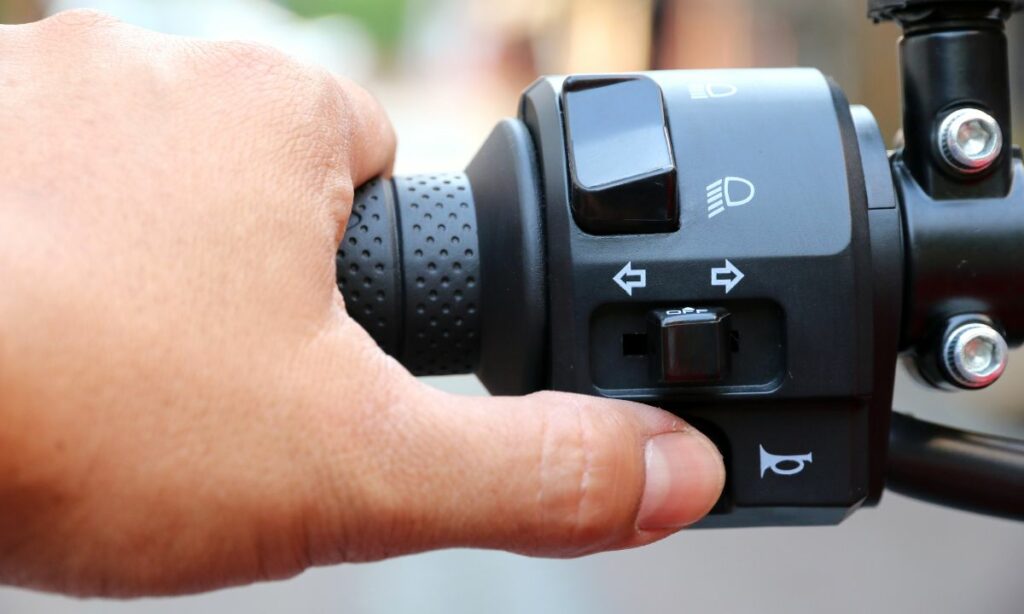
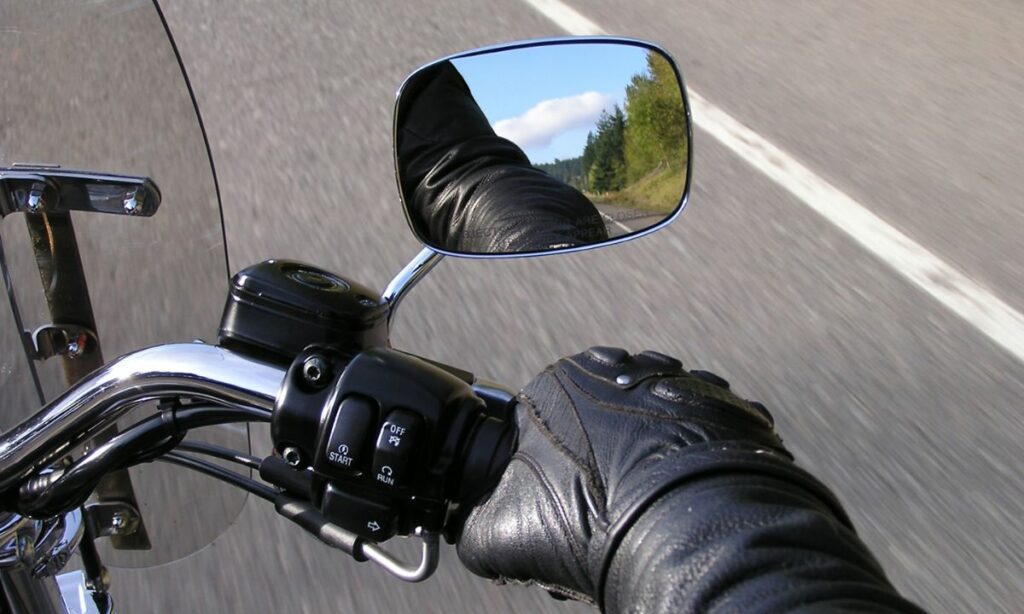
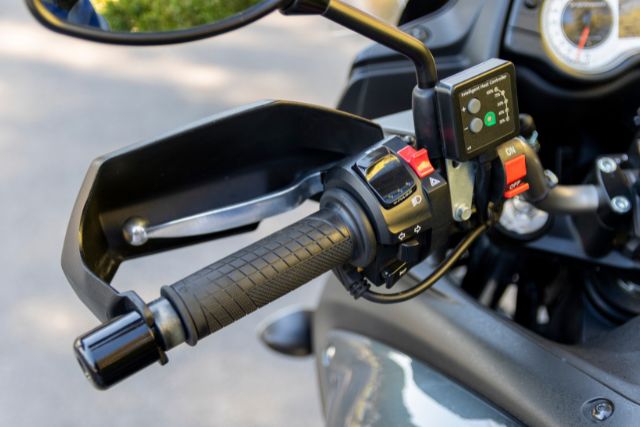
#9. Handlebar controls
Last pre-ride check:
Make sure all the handlebar controls are working fine.
A few of the controls have already been covered in some of the above inspections. Make sure you check the remaining thoroughly.
Here are the controls you need to examine before starting your ride:
- Electric self-start ignition
- Kill switch
- High beam – low beam switch
- Pass light
- Horn switch
- Choke lever
- Ignition key lock
- Turn indicator switch
That’s it.
This may look like a long list of pre-ride checklists.
But when you get down to it, most of these are 1-minute inspections.
Only if there is a problem you might have to take time and fix them.
Else, all these inspections combined will hardly take 10 minutes in total.