Chain noises are accompanied by metallic cribbing. And man are they irritating.
If not for the chain health, you have to inspect the chain to address the noise.
So what are the causes of motorcycle chain noise? Chain noises are because of a lack of lubrication, dirt in the chain, dirty sprockets, too much chain slack, or a damaged slider.
Each of these reasons, no matter how similar they feel, are distinct. They can be overlapping for sure, but each can make the chain drive noisy.
So let’s deep dive into each of these causes.
#1. No lubrication
Lubricating the motorcycle chain is maintenance 101.
As a motorcycle rider, you must lubricate the chain on a regular basis.
If the chain is not lubricated, here are the consequences:
- jerky wheel movements
- uneven power transmission from the engine to the rear wheel
- chain noise and clunking
- worn-out and damaged teeth
And before you know it, the teeth are so damaged you have to replace the chain drive itself.
Solution:
Lubricate the chain.
As a thumb rule, lubricate the motorcycle chain every 500 miles (800 kilometers) of distance traveled.
In addition, check the chain drive after washing the motorcycle, riding in the rain, and riding in wet areas.
So which chain lubricant to pick?
The best chain lube is the one recommended in the bike owner’s manual. The recommended lubricant in the manual would look something like this:
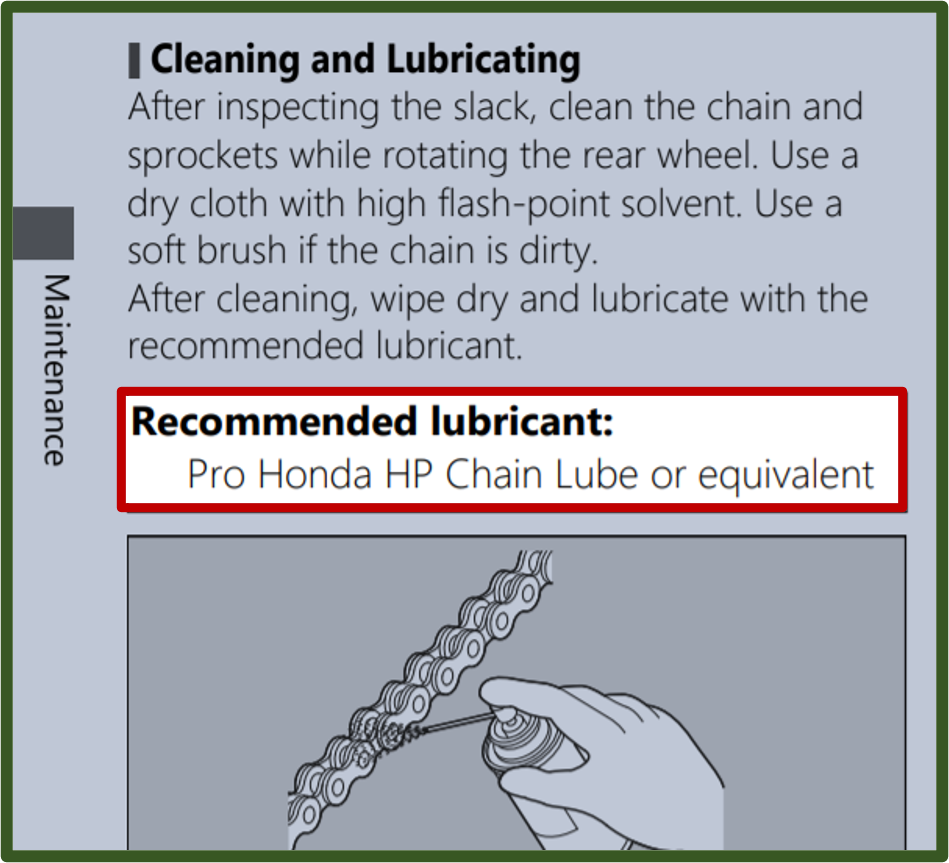
Once you have the lubricant spray, begin with the spraying.
First, make sure the chain is clean. The unclean chain is a problem too (as discussed in the next section).
Second, be generous with lubrication. Spray well. Shake the lube can and spray across the chain drive.
Third and last, make sure all the links and rollers are covered with the lube. Roll the chain drive a few times to spray it evenly across the chain teeth.
#2. Chain is not clean (even if lubricated)
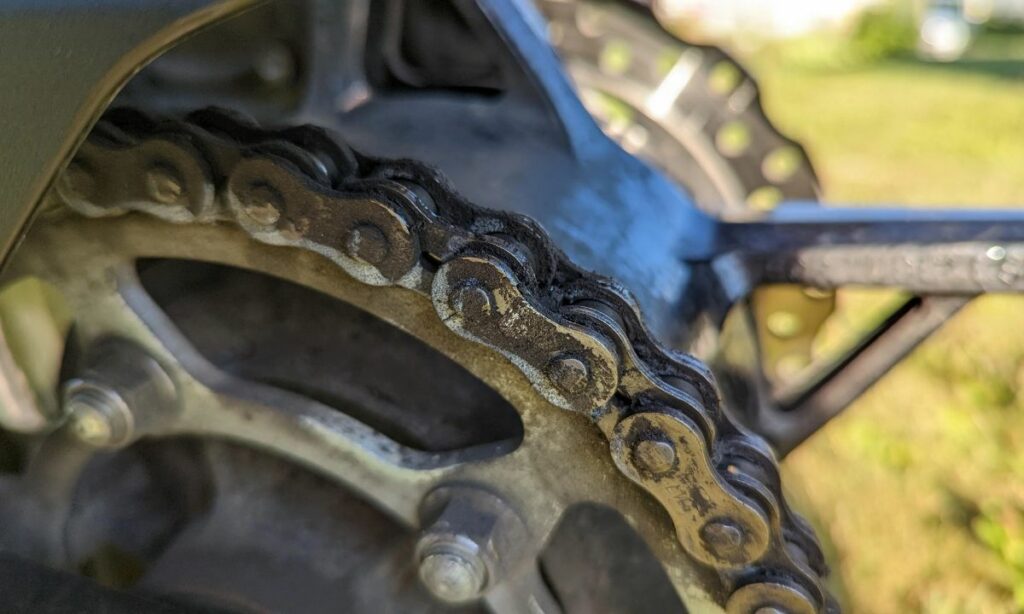
No. A lubricated chain does not necessarily mean a clean chain.
A chain may be lubricated but not be clean.
Too often bike riders take it for granted that lubrication equates to a clean chain. Sure, if the chain is cleaned and then lubricated. But only lubricated? The chain is definitely not clean.
To sum up, lubrication alone does not remove the accumulated dirt on the chain.
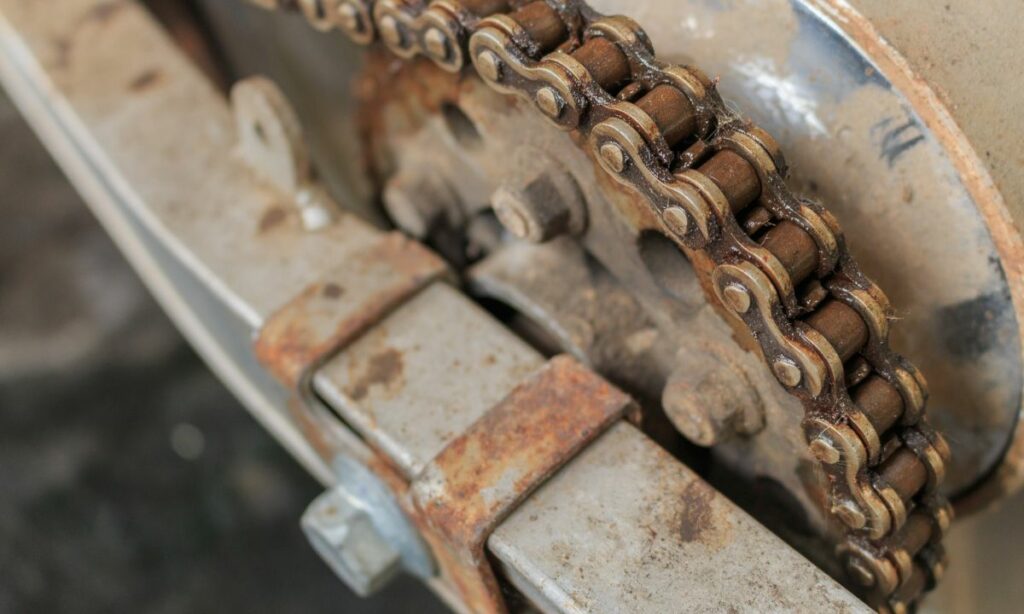
And dirt on the chain and sprocket is the primary reason for chain noise. You need to clean the chain at regular intervals.
To confirm, check your motorcycle chain. Take a tissue and rub it on chain.
Now, check the tissue. The more dirt, the more black on the tissue. You can easily gauge how dirty and unclean the chain is. Heck, you can gauge just by looking or touching with your fingers.
Solution
Clean the chain.
As for how to clean the motorcycle chain, here are the steps:
Time needed: 20 minutes
Tools required: Chain spray, wire brush, rag cloth
- Spray the chain cleaner
Start by spraying the cleaner on the bike chain. One key thing. Do not idle the engine and work on the running chain. That is dangerous. And foolish.
- Let the dirt loosen up
After the chain cleaner spraying, give a 2-minute break. Let the dirt loosen up on the chain.
- Clean the chain with a brush
Take a wire brush (even a toothbrush works as well). Use the brush to clean up all the dirt accumulated.
- Clean thoroughly
Don’t just do a customary brushing along the chain. Clean in between the rollers, blades, and chain links. There should be no dirt or sludge remaining.
- Wipe the chain with a rag cloth
Take a rag cloth. Use it to wipe the chain. There should be no spray cleaner or dirt residue remaining. One common mistake people do is using a dirty rag cloth. Not saying the rag should be white and clean, but it shouldn’t be too dirty either.
#3: Sprocket and front sprocket area is dirty
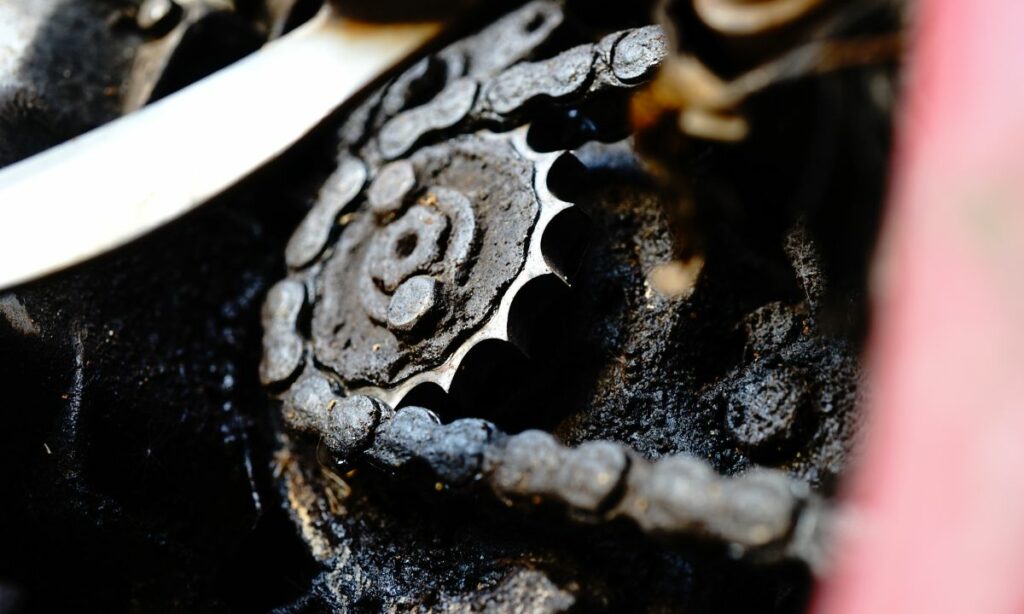
Many riders clean the chain. But completely forget cleaning the sprocket and the front sprocket area.
The sheer amount of dirt and sludge collected on the front sprocket area is insane in some of the bikes where the chain is sparkly clean. And all because the guy cleaned the chain but ignored the sprockets.
Over time, the dirt and sludge accumulate to get hardened.
The hard sludge obstructs sprocket movement. No surprise there.
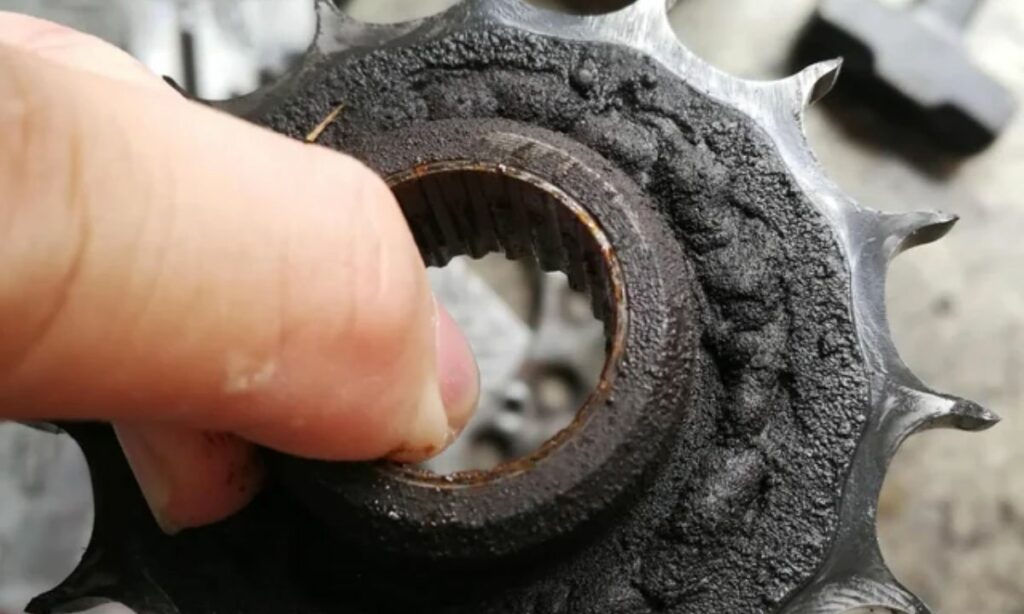
This obstruction on the sprocket is what causes chain noise in motorcycles.
So if you don’t remember the last time you cleaned the sprocket area (both front and rear sprocket), it’s time to clean.
Solution:
The solution is easy. Clean the sprocket – both the front and rear sprockets, as well as the front sprocket area.
For the rear sprocket, use a wire brush to clean (again, a toothbrush works well too).
For the front sprocket, using a brush might get inconvenient. Use a cloth and apply pressure with your fingers on the cloth over the sprocket. This way, the cleaning will be much faster.
The same applies to the front sprocket area. If the sludge is too much, take a screw driver to remove the sludge on the casing surface.
#4. Chain is loose
A loosened chain is another major cause of motorcycle chain noise.
The chain drive slack should be optimal.
Too low the slack, the chain is tight. A tight chain causes early wear and tear of the sprocket.
Too high the slack, the chain is loose. And a loose chain causes noise, teeth skip over the sprocket, the upper chain part slaps the swindle arm, and worst case, the chain comes off the sprocket.
Solution
Adjust the chain slack.
Here are the steps to adjust the loosened chain:
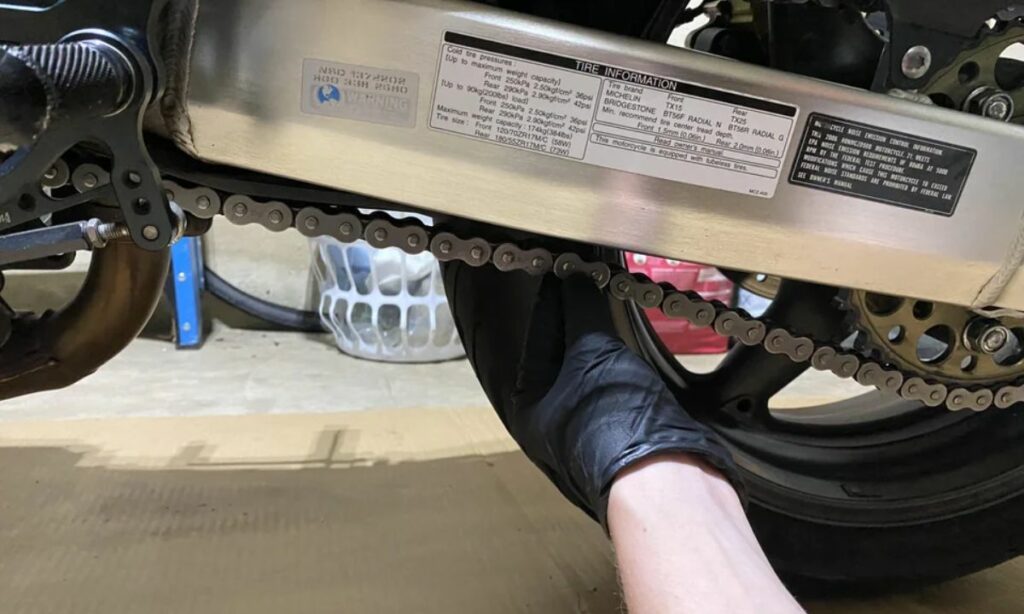
First, measure the chain slack. Take a ruler and place it vertically with one end touching the swindle arm. Then use your other hand to move the chain upward. Measure the free vertical movement to which the chain can move. That gives the slack.
Second, determine the required slack. Many motorcycles have the required chain slack labeled on the chain cover. If not, you can check the owner’s manual. As a last resort, you can go for a thumb rule slack of 0.8 to 1.2 inches (20 to 30mm).
Third, loosen the axle bolts. The rear wheel has axle bolts on either side. So, loosen both axle bolts before we move to adjust the chain.
Forth, use adjuster bolts to tighten/loosen the chain. This is the main course. Pick one adjuster bolt. Turn it to tighten or loosen the chain. This will take some trial and error until you have the required slack.
Fifth and last, tighten both axle bolts in the same position. Once you have the required slack from turning the adjusting bolt. Tighten the corresponding axle bolt. Next, move to the other axle bolt and tighten it at the same position. Use the indicators to match at both ends.
Of course, this is easier said than done.
The axle bolt tightening and adjuster bolt sliding varies from simple to complex depending on the motorcycle model. You might end up screwing and unscrewing lots of times in the process.
For more detailed steps, here is our guide on adjusting the chain.
#5. Damaged slider
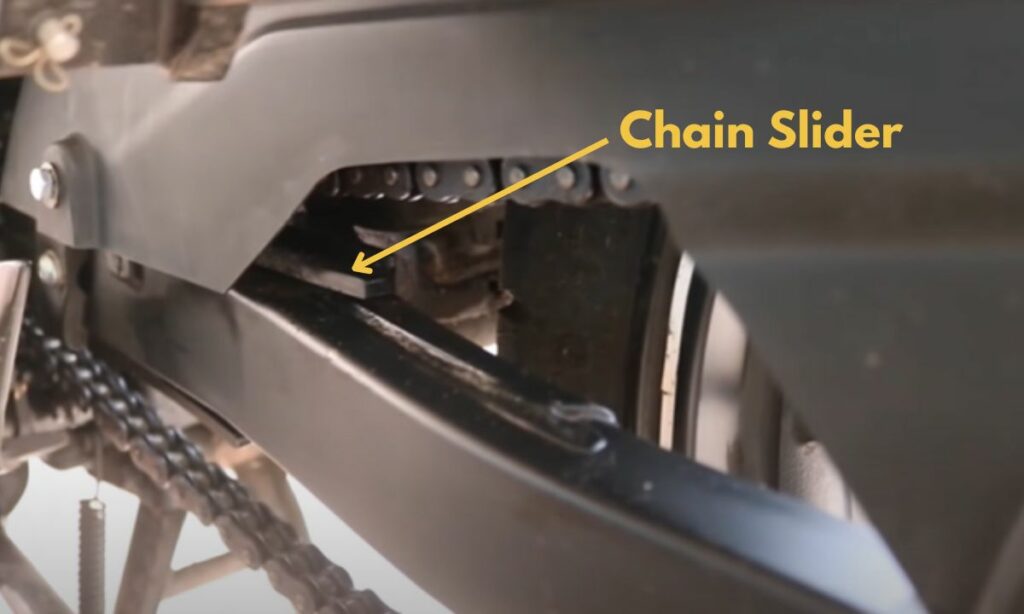
The last cause of chain noise on a motorcycle is the damaged chain slider.
The chain slider (also called the swing arm slider) is a small part. But a vital one for the chain to function.
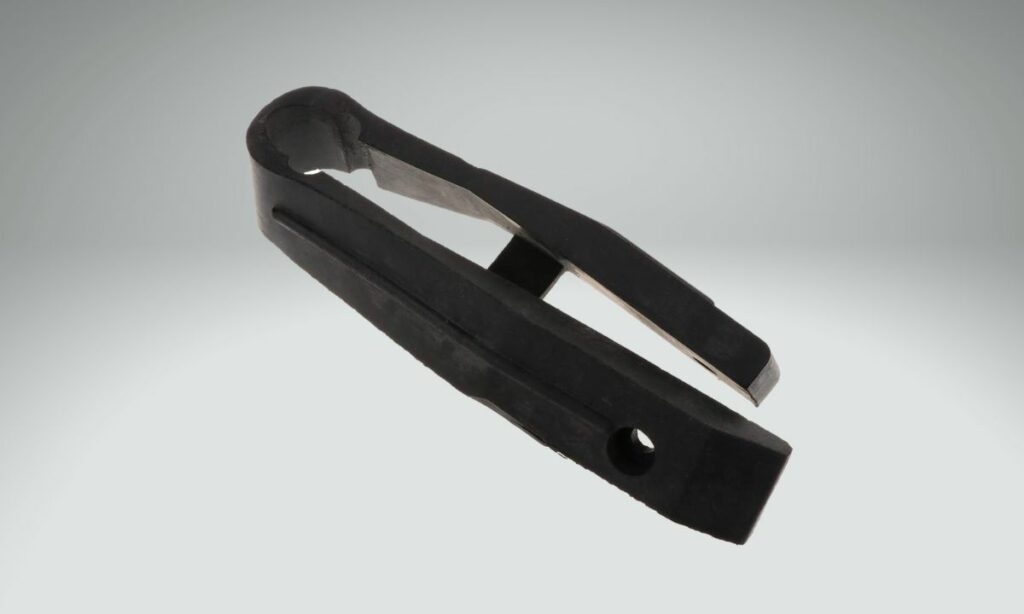
The slider is a long rubber stripe bent in a U-shape.
Why does the slider matter?
Here’s the thing:
The slider prevents the chain from slapping onto the swing arm.
So, in case the slider gets damaged, wears out, or slides off – the chain starts slapping the swing arm. Resulting in a loud noise.
That’s why you should check the slider if there is chain noise.
Solution:
First, check whether there is indeed a problem with the slider.
How to check:
If the upper part of the chain repeatedly slaps the swing arm, then there is something wrong with the slider.
Once confirmed, you need to check the slider.
If the chain slider is worn-out, damaged, or even simply hardened, replace it.
Replacing the chain slider is straightforward.
The slider is bolted with a single nut and bolt. Unscrew the bolt to remove the old slider. Clean the slider and bolt area. Fit the new slider and bolt it back.
A chain slider should cost you around $15 to $20.
To Summarize
Here are the reasons and solutions for the motorcycle chain noise:
- Solution 1: Check for chain lubrication. If the chain is not lubricated, lube the chain thoroughly.
- Solution 2: Check if the chain is unclean and dirty. Clean the chain and lubricate it again if unclean.
- Solution 3: Inspect the sprockets and front sprocket area. If it is filled with dirt and sludge, clean it.
- Solution 4: Measure the chain slack. If the slack is too much, the chain is loose. Adjust and tighten the chain by moving the axle bolts.
- Solution 5: Inspect the chain slider. If it is worn out, damaged, or even simply hardened, replace it.