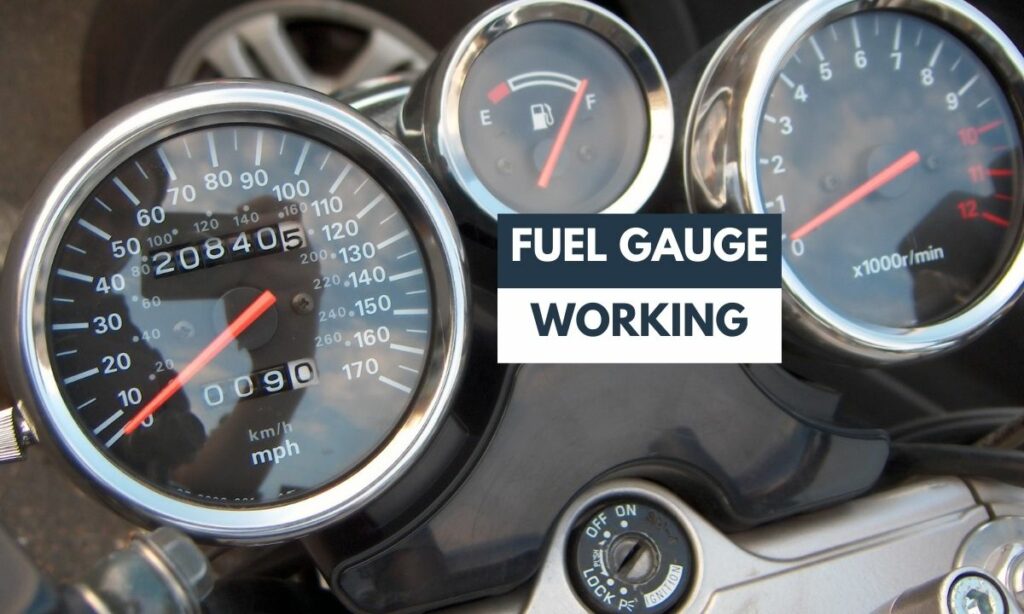
Fuel gauges help.
No matter the number of detractors scoffing at its inaccuracy, the indicator showing an empty tank is useful to me. Makes me run to the gas station.
Yet, motorcycle riders label fuel gauges as inaccurate and non-reliable. (As for why is that, we have covered the reasons in detail here).
Back to the fuel gauges, let’s deep dive into how a fuel gauge works.
Starting with:
- Fuel gauge construction and components
- Working mechanism
- Differences in design
- FAQs
Let’s dive right in.
Fuel gauge construction and parts
Let’s start with the construction.
On broad strokes, these are the main fuel gauge parts:
- Sender unit (includes float, wiper, and resistor)
- Heating coil
- Bimetallic strip
- Gauge
- Battery (provides electricity)
Let’s look at each of these fuel gauge components in detail.
Sender Unit
The sender unit measures the fuel level in the tank and sends the signal to the gauge.
That’s the simplified explanation.
The detailed part?
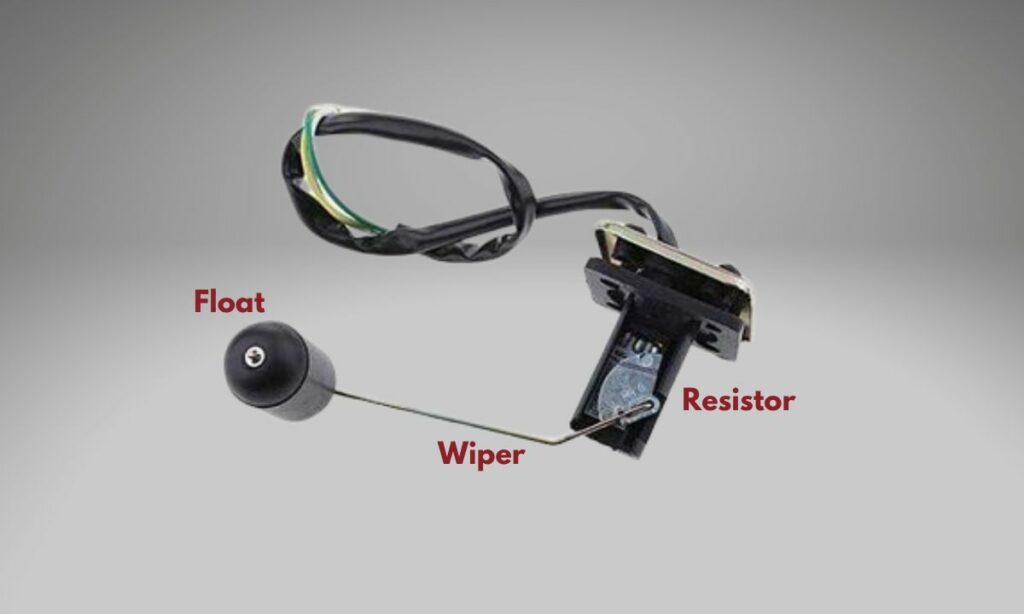
The sender unit has 2 main components:
- Float: The float moves as the gas level changes.
- Resistor: The resistor varies its resistance based on the float’s position.
Not clear enough? Let’s dive into the details.
Float and wiper
The float floats on the gas surface. As the gas level changes in the fuel tank, so does the float position.

The float is made of a light material that can bob on the gas surface.
The wiper is the long stick attached to the float at one end and the resistor at the other end.
As the gas level increases or decreases, the float should be able to change its position by staying afloat on the surface.
Resistor
The sending unit also has a resistor in the fuel gauge.
What does this resistor do?
The resistor varies its resistance depending on the float’s position. As the float moves, the resistor has a needle moving along the needle.

This variable resistor, essentially, changes its resistance depending on the fuel level.
The variable resistance sends electronic signals (in the form of differing currents) to the gauge.
This varying current (as a result of varying resistance) moves the gauge needle.
How is that?
Let’s dive right in.
Heating coil and Bimetallic strip
The current from the resistor in the sending unit flows into the heating coil next.
The heating coil – as the name suggests – gets heated because of the current flown.
The more the current, the more the electricity, the more will be heating.
What’s the point of this heating though?
Enter bimetallic strip.
The bimetallic strip expands or contracts depending on the temperature. The two metals with different thermal coefficients help in using the strip movement for the gauge.
In simple words, the strip moves based on the temperature.

The heating coil varies in temperature based on the current. The current varies based on the resistance in the resistor. The resistance changes based on float position. And lastly, the float position changes according to the fuel levels.
In short, the strip moves in relation to the gas levels in the tank.
The Gauge
The last component. And the only thing visible to the motorcycle rider.
Continuing from previous section, the strip moves in relation to the fuel level.
And this bimetallic strip controls the gauge needle.

As the fuel level goes down – the float goes down, resistance changes, the temperature in the heating coil changes, the strip moves, and the needle moves to show a low fuel level (towards E).
Similarly when you fill the gas.
As the fuel level goes up – the float goes up, resistance changes, the temperature in the heating coil changes, the strip moves, and the needle moves to show a good fuel level (towards F).
Battery
Okay, where does the battery fit in this?
Remember the current flow we have been talking about?
Where do you think it is coming from?
The battery of course.
The battery provides the electric current necessary for this entire fuel gauge setup.
Without the battery, there is no current flowing across the resistor. No heating the heating coil. No moving the strip. And hence, there will be no movement in the gauge needle.
You get the gist.
The battery plays a vital, albeit silent, role in the fuel gauge setup.
Working mechanism
By now, hope you have got an idea how the fuel gauge works.
Still, here is the quick rundown:
- Fuel level increases/decreases: This is the first trigger. After all the entire fuel gauge setup is to measure exactly this. The fuel level in the gas tank.
- Float changes its position: As soon as the gas level increases or decreases, the float which s bobbing on the gas surface changes its position as well. After all, the float is floating on the gas surface.
- Resistor varies the resistance: The float is connected to the wiper. As float changes its position, the resistor connected to the wiper changes the resistance. The resistor is variable and sensitive to the wiper’s position.
- Current on heating coil changes: As the resistance varies, so does the current. Basic electric principle. This varying current affects the heating coil. The more the current, the more will be the heat. And vice versa.
- Bimetallic strip moves: The heating coil is connected to the bimetallic strip. As the temperature changes, the bimetallic strip expands/contracts from one side to another. Bottomline, the strip moves.
- The gauge needle shifts: The bimetallic strip is connected to the gauge needle. As the bimetallic strip moves, so does the needle. Based on the fuel level in the gas tank, the gauge needle varies from F (full tank) to somewhere middle to E (empty tank).
To demonstrate the fuel gauge working, here is an illustrative diagram.
Case 01: When the gas tank is almost empty

Notice how the float’s position ultimately affects the needle position on the gauge.
The float to resistor to heating coil to bimetallic strip to gauge needle connection is the core for the fuel gauge working. (Adding battery for its electricity supply).
The same diagram when the fuel tank is filled with a good amount of gas is illustrated below.
Case 02: When the gas tank has fuel

Using magnetic coils in place of a bimetallic strip
Most fuel gauges in cars don’t use bimetallic strips. Instead, there are magnetic coils that move the gauge needle.
The magnetic coils have made their way into motorcycle fuel gauges as well.
But, the working principle is still the same.
What’s the difference though?
The magnetic coils move the gauge needle through magnetic fields. The needle is magnetic. And is sensitive to electromagnetic coils.

Put simply, both the bimetallic strip and the magnetic coils move the gauge needle. The difference is how they do it.
- The bimetallic strip moves depending on the heating coil temperature, which in turn is a function of the current. The gauge connected to the strip moves accordingly to show the fuel position.
- The magnetic coils are electromagnetic and change the magnetic field depending on the current. The two magnetic coils pull the needle from one side to the other – positioning the gauge to show the fuel level.
FAQs
The fuel gauge sender unit is placed within the motorcycle fuel tank. Only the gauge is installed outside the motorcycle and is visible to the bike rider.
The main reason some motorcycle models don’t include fuel gauges is that fuel gauges are inaccurate and non-reliable. The irregular gas tank shape and primitive mechanical design make their reading inaccurate.
There are several ways:
First, use the reserve fuel switch. If you have to switch to the reserve tank, the fuel is low.
Second, track the distance traveled. Either by pressing the trip-odometer or simply checking the odometer.
Third and last, open the fuel tank cap and check. A naive method. And refill gas every few days.