Engine oil plays the role of lubricating and cooling the engine components for the engine to work smoothly and efficiently. That’s why, it is important to change the engine oil and to regularly check the engine oil quality in a motorcycle.
So, how to check the engine oil quality and condition in a motorcycle? To check the engine quality of a motorcycle, look into the color, smell and stickiness of the engine oil. The oil should be brown or lighter in color, should not have burnt smell, and should not be sticky in condition for it to be of good quality and in working condition.
Here is a step-by-step guide to check the engine oil quality in your motorcycle.
Step #1. Park The Motorcycle On A Flat Surface
First, ensure that the motorcycle is standing on a flat surface. If the road has rough terrain or it is a steep path with a considerable slope, the checking of oil levels won’t give precise and accurate results.
So, ensure that the motorcycle is standing on a flat road surface.
If your motorcycle has the center stand, use the center stand to make the bike rest straighter on the road. If there is no center stand in your motorcycle, use the paddock stand.
Make sure the surface is flat once again especially if you are using a paddock stand. The flatter the surface, more accurate will be the engine oil reading.
Step #2. Idle The Motorcycle For 10 Minutes
Before we go into checking the oil quality, it is essential to warm up the engine oil. Warming up the oil will help us in gauging the quality of oil better and understand its current condition.
That’s why, it is better to check the engine oil right after you have come from a ride. If you have not taken the motorcycle for any ride in the last half an hour, you can idle the bike for a period of 10 to 15 minutes.
Idling your motorcycle for 10 minutes will get the engine going and also helps the oil to work for some time. Checking the quality of the oil right after it has warmed up will aid in much better understanding of the quality and the condition of the oil.
So, after parking the motorcycle on a flat surface, idle your motorcycle for a period of 10 minutes.
Step #3. Allow the Engine To Cool Down For 15 Minutes
Once you have allowed the engine oil to warm up by idling the motorcycle for 10 minutes, it is now time to allow some cool down period for the engine.
Leave the motorcycle at rest for the next 15 to 20 minutes. Allow the engine and the engine oil to cool down properly. The warmed up oil needs to be brought back to its cooled down state.
Once cooled down after a period of 15 minutes, it is now time for us to check the condition and quality of the oil. Just make sure that you have given sufficient time for the engine to cool down.
A time gap of 15 to 20 minutes should ideally do the job. However, if you have idled the bike for too long or your engine has been overheating, then make sure that the cooling period is much longer than 15 minutes.
Step #4. Open The Oil Gauge To Check Oil Level
Once the motorcycle has been allowed to cool down for 15 minutes, it is now time to check the engine oil level first.
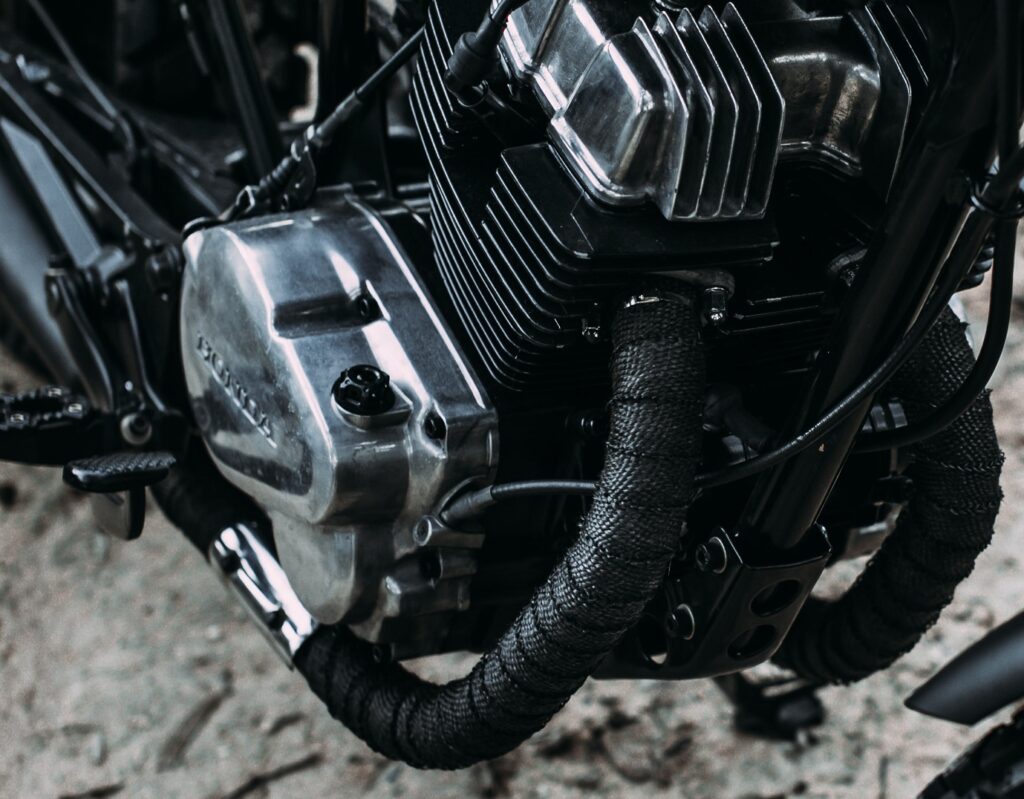
Remove the oil gauge from the motorcycle. If the oil gauge is fixed too tight, you can remove it with the help of a plier. Once you remove the gauge, clean the gauge since the oil level reflected will not be clear as it will show at full levels. This is because the oil flows under pressure inside the motorcycle and the flow will make the entire gauge wet.
Now, the oil gauge will be marked with two levels. The top mark is for ‘full’ and the bottom mark is for ‘low’.
Ideally, the oil level should be between the top and bottom marks, i.e., falling between the full and low oil levels.
Clean the oil gauge first since it would have been completely wet due to the pressurized oil flow in the system. Once you have cleaned the gauge, place back the oil gauge but do not screw it. Just place the gauge back and allow it to get wet by the engine oil at the current level.
Now, remove the oil gauge. You can check the engine level now by checking the wet mark on the gauge. If the wet mark of the oil is between the ‘full’ and ‘low’ marks, then the engine oil is at right level.
If the oil wet mark on the gauge is below the ‘low’ mark, then the engine has low oil level. It is time to change or top up the oil.
On the other hand, if the oil wet mark goes above the ‘full’ mark, then it is also a concern. There is too much engine oil in the bike. You need to allow the engine to breathe. If there is too much oil, it is like you have drank too much water and cant breathe. You need to remove some oil.
Step #5. Checking The Quality – Color Of The Oil
Once you have checked the oil level in the engine, it is time to assess the quality and condition of the engine oil in your motorcycle.
Dip the oil gauge back into it place and no need to screw it tight. Just place it and take it back. Now the gauge would have collected some oil. Apply that oil on you fingers or a paper or a tissue.
Check the oil color. Here are the pointers for different engine oil colors.
- If the oil color is brown or lighter: then, the engine oil is in good condition bases on the color of the oil. We can now proceed to other quality checks. The natural color of the engine oil is brown or lighter.
- If the oil color is darker or black: then, the engine oil is in poor condition. Most likely, the oil is too old or the oil has been burnt. If the oil color is dark brown or black, you need to change the engine oil immediately.
- If the oil color is uneven and has green or white tinges: then, coolant is mixed with engine oil. This is applicable only for liquid cooled motorcycles. If your motorcycle has liquid cooling system, there must have been a leak which has allowed the coolant to mix up with engine oil. In this case, you have to check for the leak and address it.
Once you have checked the color of the engine oil and it is indeed found to be of brown or lighter color, then you can proceed to the next step for the oil quality check.
Step #6. Checking The Quality – Smell Of The Oil
Repeat the step of dipping the oil gauge back to its place and take it back. Apply the collected oil on the gauge to your finger or a paper or a tissue.
Now, smell the engine oil from your finger or the tissue paper, wherever you have applied the oil.
There is only simple test here. If the oil has a burnt smell, then the oil is not right for the motorcycle. The oil has been burnt or you have been using the oil for far too long in the engine. Either way, you need to change the engine oil.
If there is no burnt smell coming from the engine oil, then the oil is working fine without any burning. You can now proceed to check the stickiness of the oil as mentioned in the next step.
Step #7. Checking The Quality – Stickiness Of The Oil
For the next step, again dip the oil gauge back to its place and remove to collect some engine oil onto your fingers.
This time we are checking whether the oil has still retained its viscosity for proper functioning in the engine. If the viscosity is not right in the oil, then it won’t be able to lubricate the engine components properly.
Apply the oil from the gauge on your thumb. Now, use your forefinger to touch the oil on thumb to check for stickiness. Try to disengage the forefinger from thumb now, and if you feel the oil is sticky and a small line of oil is forming between your thumb and the forefinger, then the oil has lost its desired viscosity and lubricating properties.
Too much stickiness and low level of fluidity remarks a loss of desired viscosity in the engine oil. When the viscosity is not right, the engine oil will not be able to lubricate and cool down the engine components, which in turn will lead to engine overheating.
Once you have checked for the stickiness of the oil as well, and it is in the right condition, then we can safely say that the quality of the engine oil currently in your motorcycle is good.
In Conclusion
If the engine oil is alright in all the three quality aspects – color, smell, and stickiness, then you can safely conclude that the engine oil is in good working condition. Of course, the oil level needs to be checked as well before checking for the quality of the oil.
However, if the oil is black or dark in color, or has burning smell, or is too sticky, then you need to change the engine oil in your motorcycle.