Dim motorcycle headlights are annoying. And a serious problem on dark roads at night. If the headlight is dim, you need to look into it and address it asap.
So, why is your motorcycle headlight dim? Here are the checks and solutions you should go for to address the dim headlight problem:
- Examine if it is a battery problem
- Check for headlight reflector damage
- Inspect if the light bulb is blackened
- Look for worn-out or cut wiring
- Ensure the backlight is not of high watts
- Check for rust on the headlight switch
Let’s dive into each of these solutions and discuss in detail.
#1: Examine if it is a battery problem
First things first. Check if there is a battery problem in your motorcycle.
If there indeed is a battery problem, then that is the one causing the headlight to go dim. You don’t need to look into headlight connections. Rather, the battery connections.
So how do you confirm it is the battery problem in the motorcycle?
One way to check is if all the lights are dimming. Not just the headlights.
If the battery is not charging or does not have enough charge in it, then all the electrical components are affected.
Along with the headlights, the turn indicators, the backlight, and the horn sound – all will be dim.
You might even face motorcycle starting problems.
So, if all the electrical components are not working fine and seem to be dim, then it indicates a battery problem. Or the charging system – stator or rectifier problem.
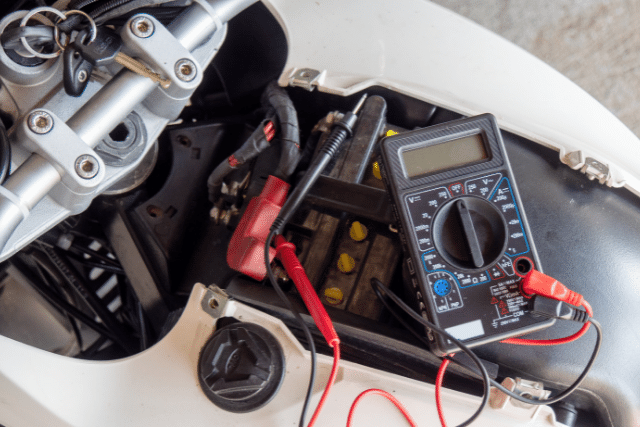
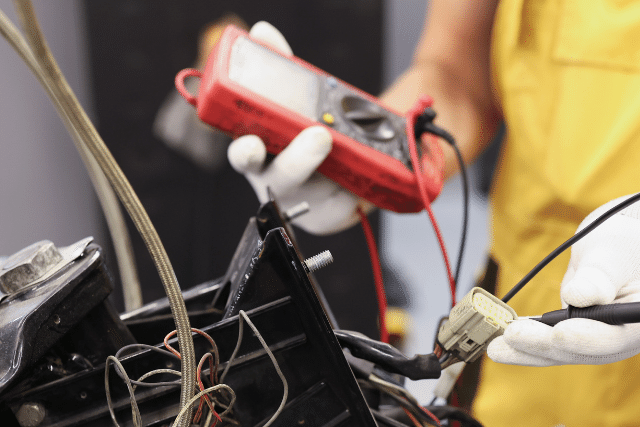
You can confirm for sure by using a multimeter. Check the battery voltage by connecting the multimeter leads to the battery terminals. The voltage readings should be around 12V to 13V.
If not, you need to look into the battery and its charging system. Here is a detailed post on battery problems in a motorcycle.
In case, it is only the motorcycle headlight that is dim and all other electrical accessories are working fine, then time to look more into the headlight area.
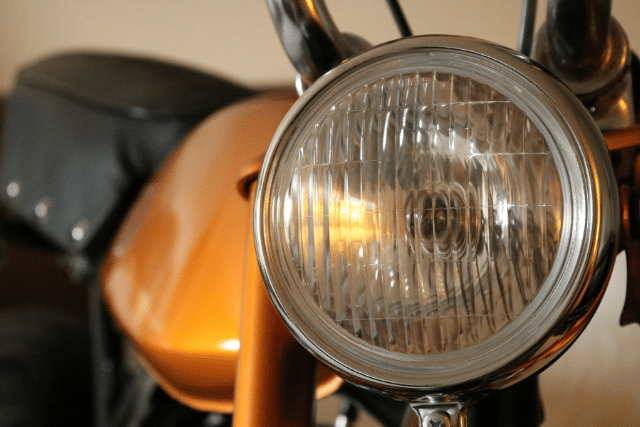
#2: Check for headlight reflector damage
The most common culprit for a dim headlight is the glass and the reflector.
The reflector’s function is to redirect the light bulb rays into a concentrated beam of light. This beam is directed towards the road.
So, if the reflector gets damaged, the light beam will not be too concentrated. This gives a dim light perception. The light bulb rays are not redirected right.
So, check for any damages to the headlight reflector as well the glass.
If there are damages, then you need to address them. The reflector damage is what is leading to dimmed headlights.
Consider replacing the reflector. The headlight should then glow fine.
As for glass, replace it if the glass is broken.
#3: Inspect if the light bulb is blackened
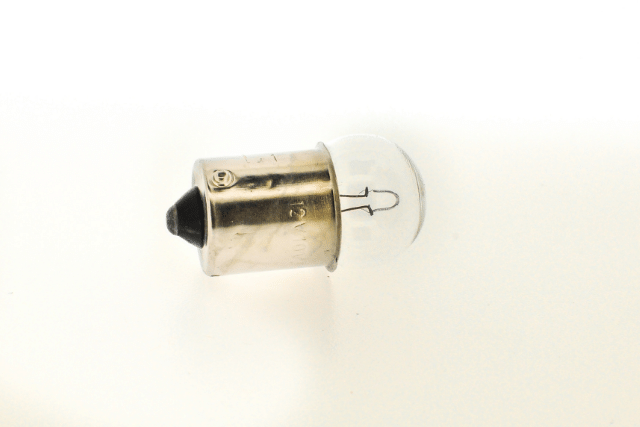
The next possible culprit is the light bulb itself.
Especially if the motorcycle is old. Over time, the light bulb loses its performance. The vaning glow from the bulb is what leads to dim light in your motorcycle.
But, how to confirm the light bulb is the problem?
First, your motorcycle should be old. For LED headlights, the motorcycle should be at least 5 years old. But for Halogen or HID headlights, even 1-year-old motorcycles can have problems.
To know more about different headlights, here is a detailed comparison of halogen, HID, and LED lights.
Next, check if the light bulb is blackened. This is a major giveaway. A blackened light bulb is no more capable of good functioning.
So, if the light bulb is blackened, you have to replace the bulb.
Just to confirm. While replacing check the light intensity of the blackened bulb and the new bulb. You will notice a large difference. Confirming that the light bulb is what causing the dimness.
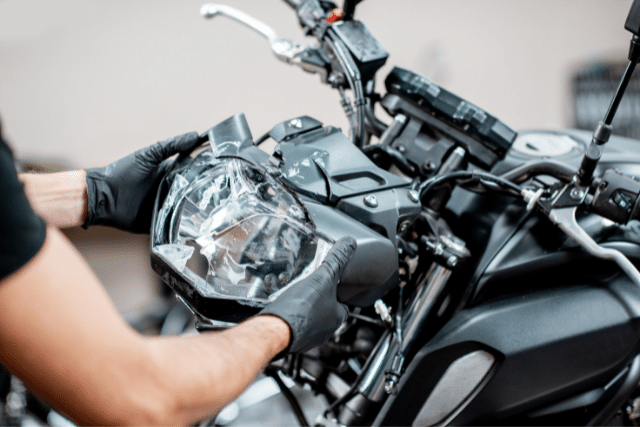
#4: Look for worn-out or cut wiring
The next inspection is the wire connecting to the headlight.
If you are not well versed with DIY jobs on your motorcycle, it is better to take your bike to a mechanic or dealer.
What needs to be done is you have to check the headlight wire for any cuts or damages. Even worn-out wires are bad.
Start by removing the seat and following the wire that is going towards the headlight. Check thoroughly. Most times, the wire is enclosed in a black and thick insulator casing. Look for any cuts.
These wires, inside the insulator, are made up of superior copper wires. But, as time passes, the wire wears down. The resistance decreases. The voltage to the light bulb reduces. And the headlight dims.
So check the wire. If everything is in order, good. If not, you have to replace it with a new copper wire.
#5: Ensure the backlight is not of high watts
Another possible reason why your motorcycle headlight is dimming can be the backlight has a higher power rating.
Check if the backlight has higher wattage than the headlight. If it is, the backlight is drawing more power. Causing the headlight to dim.
The motorcycle battery is usually small. It does not have a high capacity. So, these minor things which do not affect other machines with large batteries, certainly do in motorcycles.
That’s why both the front headlight and the backlights should have the same or around the same wattage.
To confirm backlight wattage is the issue, remove the backlight bulb first. Then start your motorcycle. Check if the headlights are glowing right without dimming. If yes, change the backlight to a bulb of lower wattage.
#6: Check for rust on the headlight switch
The last possible cause for a dim motorcycle headlight is rust on the headlight switch.
Rust in the headlight switch can prevent the switch from fully functioning. Check the headlight button first. Are you able to shift it smoothly? If not, there is a problem.
Next check the same for high and low beam button shifts. Can you switch from high to low or low to high smoothly again? If not, time to open up the headlight switch.
Once you have opened the headlight switch, you can notice the wires behind it.
Now, look for any rust or dirt accumulation. If there are any, clean them.
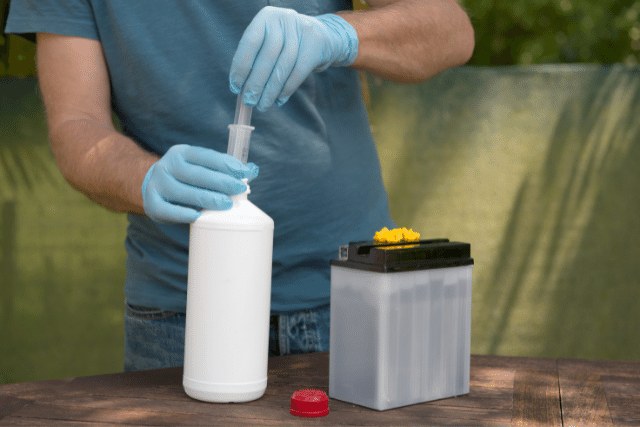
Use a spray. A maintenance spray, anti-corrosion spray, rust protection spray, or even gasoline (although not the best) works. Spray it on the switch and wiring.
Next, clean it with a wire brush. You can opt for an old toothbrush as well. That’s how I did it. At last, wipe with a dry cloth.
Fit the headlight switch back. Now, idle the motorcycle and look at the headlight.
After all these steps, the motorcycle headlight should now be working fine and not dimming anymore.
To Summarize
If your motorcycle headlight is dimming, here are the solutions you should try one by one.
- Solution 1: Check if it is a battery problem. Or the charging system problem. If all the lights are dimming and other electrical components are not working great including starting the motorcycle, it is a battery and charging system problem. Not the headlight.
- Solution 2: Inspect the headlight glass and the reflector for any damages. If there are, the reflector is not concentrating the light beams and redirecting them right. Replace the reflector.
- Solution 3: Check the headlight bulb. If the bulb is blackened, replace it. It is a common problem in old motorcycles.
- Solution 4: Look into the headlight wiring. You have to dismantle the seat and the headlight here. If there are cut or worn-out wires, they are likely the problem. Worn-out wires have higher resistance. They draw out power. Replace the wiring if cut or worn out.
- Solution 5: Check the backlight wattage. If the power rating of the backlight is higher than the headlight, that’s a cause. Both the headlight and the backlight should be of the same or similar power rating.
- Solution 6: Inspect the headlight switch. The button should work smoothly. And the wire behind the switch should be free of dirt and rust. If they are, clean them using a spray, brush using a wire brush, and wipe with a dry cloth.