
A motorcycle not getting a spark is a big headache when it comes to starting problems.
Simply changing the spark plug won’t work all the time.
Even though a bad spark plug is one of the reasons, there are a lot more.
Here are the main reasons why your motorcycle is not sparking:
- Damaged spark plug wire
- Worn-out spark plug
- Weak battery
- Blown ignition fuse
- Kill switch issues
- Damaged safety switches
- Ignition coils or pickup coil problems
Each of these causes requires careful inspection and thorough addressing.
So let’s get down to it in detail.
#1. Damaged spark plug wire
The spark plug wire and the spark plug itself are the first two things to check whenever there is a sparking problem in the motorcycle.
Let’s start with the spark plug wire.
We need to check whether the spark is reaching the spark plug or not.
If not, and the battery is in good condition, then there might be something wrong with either the spark plug wire or the cap.
Here is how to check.
How to check:
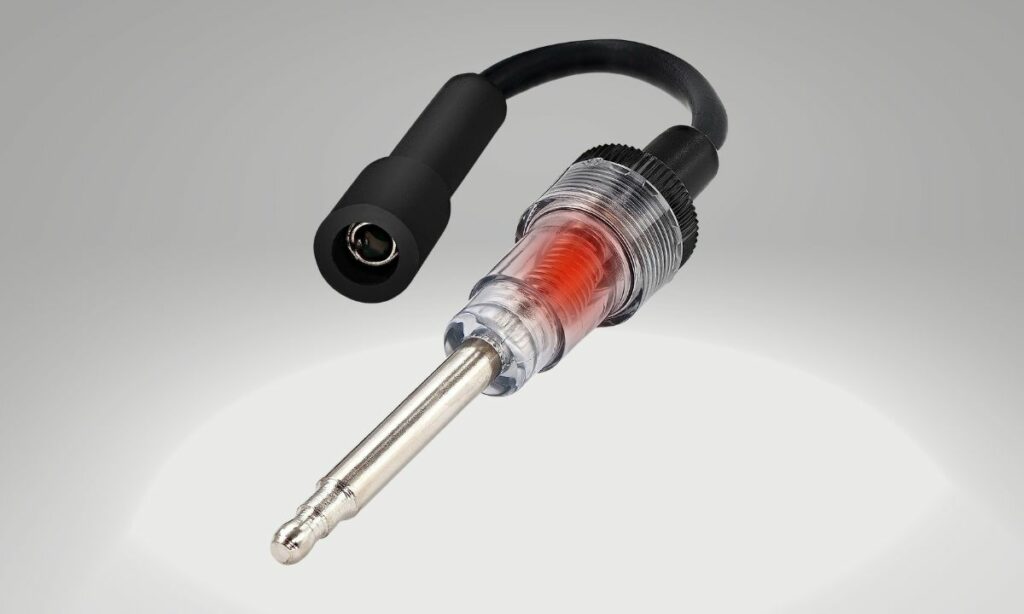
Use a spark tester to easily check if the spark is reaching the spark plug wire.
A spark tester usually costs around $3.
Alternatively, you can use a screwdriver as well. Be cautious while using the screwdriver though.
Here is what you need to do:
Remove the spark plug cable connecting the spark plug.
Take the spark tester.
Plug the tester cap into the spark plug and the pointy end of the tester into the spark plug wire.
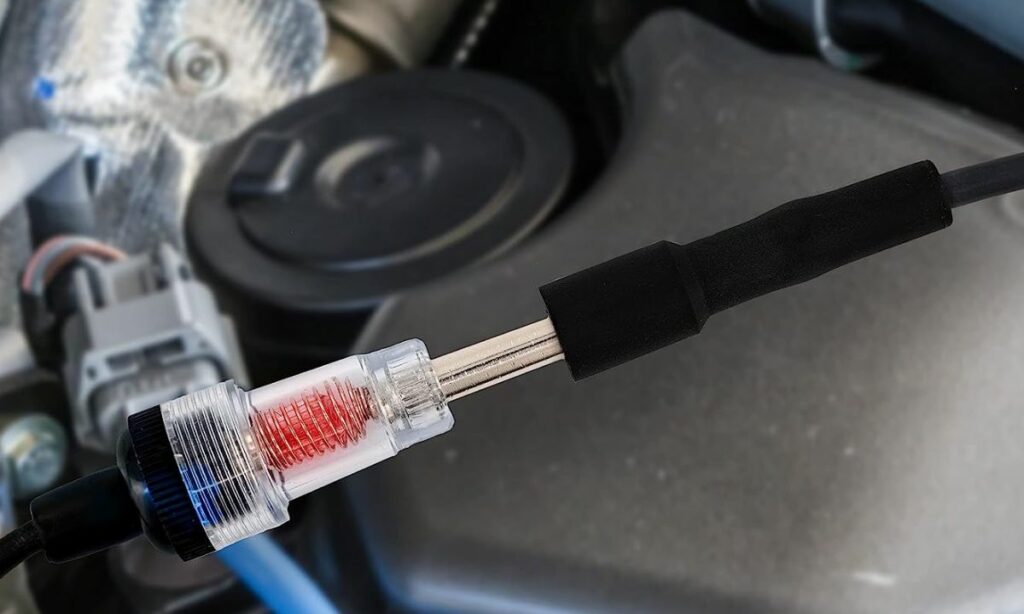
If the tester lights up, then the spark plug wire is working fine.
If not, there is something wrong with either the spark plug wire or its cap.
How to fix:
If the tester indicates that the spark plug wire is damaged – either the wire itself or the wire cap connecting the spark plug – you need to replace it.
Replace the spark plug wire.
Buy the spark plug wire (cable) from your local auto shop. Or online.
Take out the old cable and throw it out.
Connect the new spark plug wire now. One end is to be connected to the coil located below the gas tank. The other end of the wire to the spark plug in the engine.
Ensure the connection is tight. The spark plug wire should fit the spark plug in the engine easily.
#2. Worn-out spark plug
A damaged or worn-out spark plug is another common reason for your vehicle not sparking.
Now, a damaged spark plug can be in several different forms.
The spark plug not being able to spark can be because of several reasons.
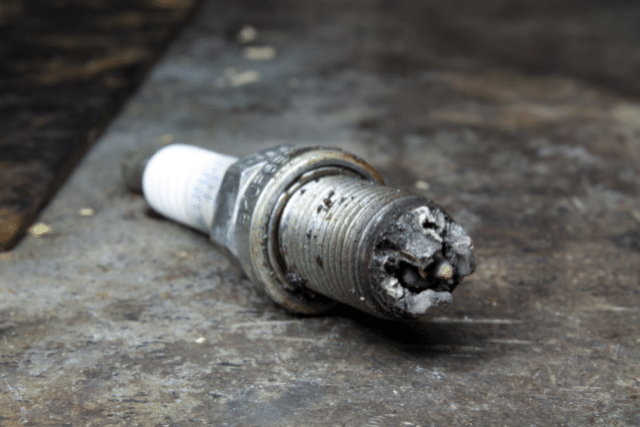
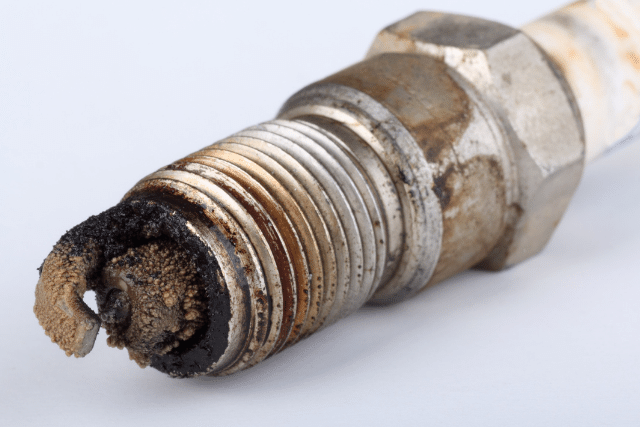
There may be carbon deposits, ash deposits, oil fouling, or the central electrode might have worn out.
All these are plausible explanations for the spark plug not producing sparks in the engine combustion chamber.
With carbon or ash deposits, there is the spark. But it is masked by these deposits. In worn-out electrodes, there won’t be enough strong high-voltage sparks generated.
No matter the cause, if the spark plug is indeed damaged, you must replace it.
You can clean the electrodes for sure. Especially for deposits. But still, replacing the spark plug is a far better option.
How to check:
Take out the spark plug first.
Then, you need to read the spark plug.
Basically, you have to check its color, deposits, texture, and smell.
Here are different spark plug characteristics and what they mean for the spark plug:
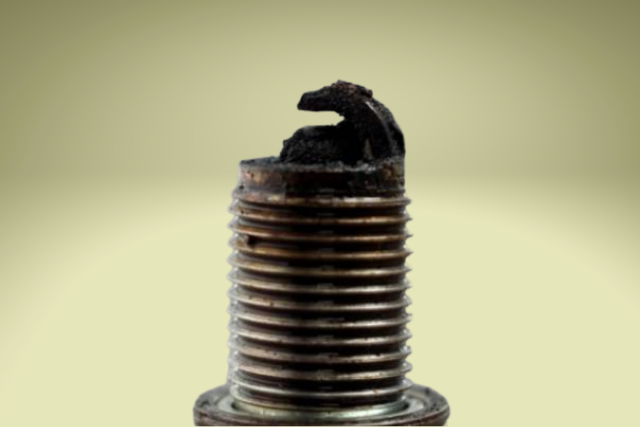
- Oil fouling: black and wet deposits, greasy in texture.
- Carbon fouling: black and dry deposits, sooty in texture.
- Ash deposits: white crusty deposits, dry and sandy in texture.
- Worn-out spark plug: the center electrode is worn out and can be hardly seen.
- Normal spark plug: no deposits, slight discoloration.
You want your spark plug to be in good condition. No deposits. No discoloration. No burnt smell.
How to fix:
If the spark plug is damaged or worn out, then the only fix is to replace it with a new spark plug.
In general, the tools required for spark plug change are: a spark plug wrench, a flat-head screwdriver, a feeler gauge or spark plug gap opener, a small wire brush, sandpaper, and in-line spark testers are also used by professional after-service providers.
The feeler gauge and the spark plug gap opener are to adjust the spark plug gap to the desired measurements.
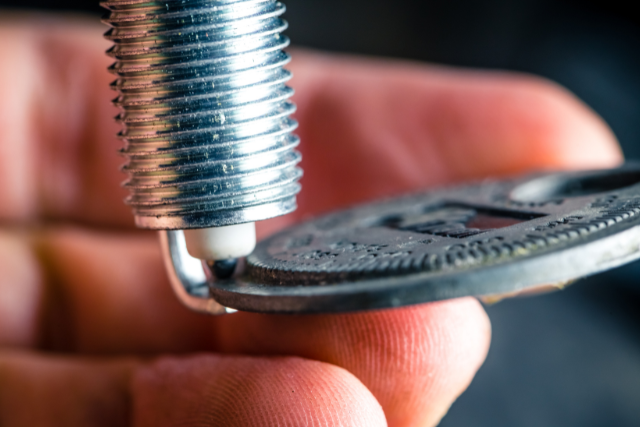
The replacement process is simple.
Use the wrench to take out the old spark plug.
Adjust the new spark plug gap. And then fit the new spark plug using the wrench again.
That’s the gist. For a more detailed guide and do’s and don’ts, here is our in-depth post on changing spark plugs.
#3. Weak battery
Most electric-related problems on motorcycles are simply battery problems rather than a specific part malfunctioning.
And sparking is no exception.
There might be nothing wrong with the spark plug or wire or cap. It’s the battery that might be the culprit.
Without a good battery, the spark plug won’t be able to produce a high-voltage spark.
That’s why, it is essential to check whether the battery is in good condition or not.
How to check:
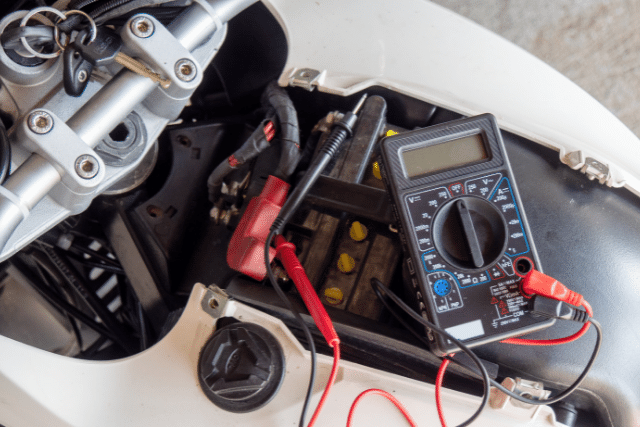
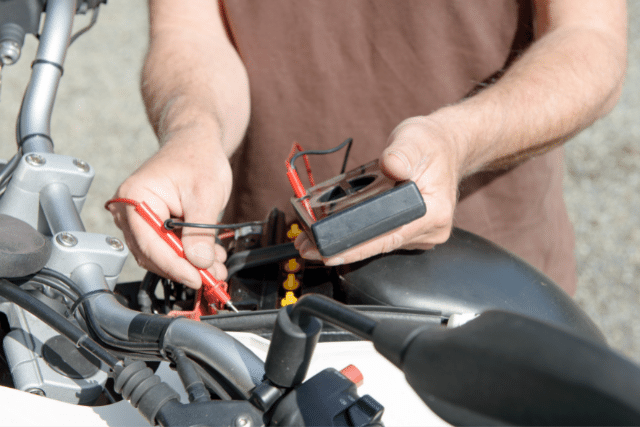
Take a multimeter.
Next, set the reading to Volts.
Connect the multimeter to the battery terminals.
The red lead to the positive terminal, and the black lead to the negative terminal of the battery.
Check the multimeter reading now.
For a good and well-functioning battery, the multimeter volt reading should be above 12 Volts. Something around 13 Volts is preferable.
If the voltage reading is lower than 12 Volts, then you have a weak battery.
And the weak battery is causing sparking problems on your motorcycle.
How to fix:
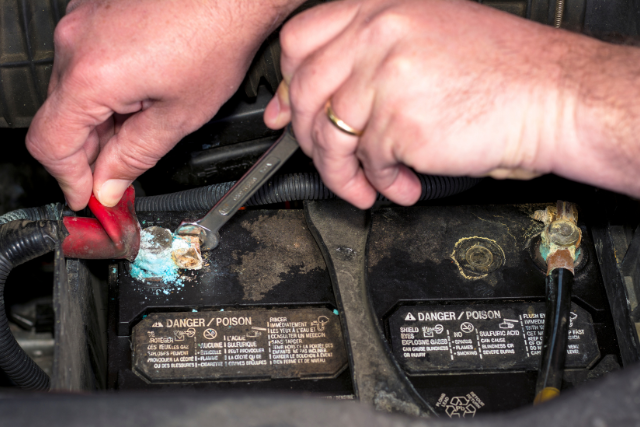
The weak battery can either be because of corroded terminals or the battery is dead.
If it’s the former, scrub the corroded terminals. If the top layer has grime, wipe it off. Make the terminals clean. Then check the multimeter reading again.
If it’s the latter, i.e., a dead battery, you have to replace it. Replace the dead battery with a new one.
In addition, check the stator and regulator-rectifier – in case they are damaged as well.
#4. Blown ignition fuse
A motorcycle fuse is an electrical safety device that protects a circuit from overcurrent.
The fuse can blow up because of any of the problems in the electric circuits. Ranging from short circuits to overloading to mismatched loads to device failure.
And if the ignition fuse has blown, then there will be problems in the ignition. Starting with no sparking.
How to check:
To confirm it is indeed a blown fuse causing the sparking issue on your motorcycle, you need to check the fuse.
Now, how to go about it?
Most motorcycles have their fuses covered in a box.
This box is obviously called – a fuse box cover (duh!).
The fuse box cover is located directly below the seat and beside the battery.
Open the fuse box cover and you will see around 6-15 fuses depending on the number of circuits in the motorcycle.
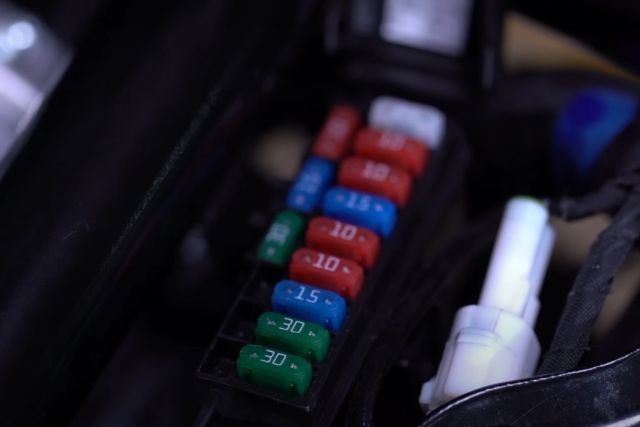
For each circuit, there is a rated amperage. You can check these current ratings on the fuses where they will have markings like – 7.5, 10, 20, 30.
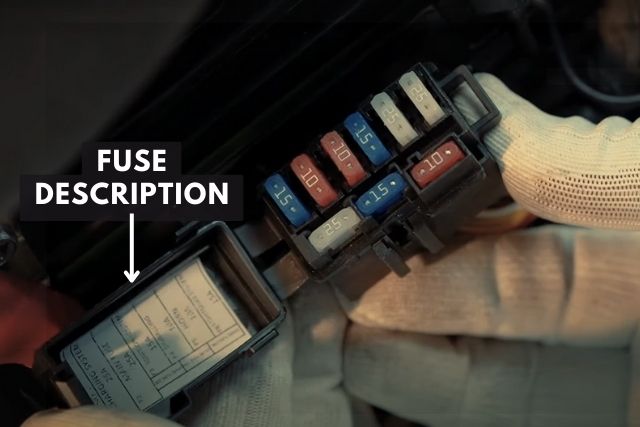
These numbers on the fuses are their circuit’s amperage rating. If the current exceeds the rating, the fuse will blow up and gets damaged.
Check the ignition fuse.
There will be a fuse description indicating which fuse is the ignition fuse.
To check whether the fuse is blown or not, all you need to do is see the metal strip inside the fuse. The U-shaped metal strip will be broken if the fuse is blown.

The strip will remain intact if the fuse is working properly and has NOT blown.
How to fix:
If the ignition fuse is blown, the only solution is to replace the blown ignition fuse with a new one.
You must always replace a blown fuse with a spare fuse of the same rating.
Few motorcycles provide spare fuses which are located near the battery. So, check for spare fuses near the battery in case you have been provided with them.
If not, buy a new fuse and make sure the amperage rating is the same.
Lastly, changing the fuse is easy.
You need to pull out the blown fuse, if not already, and plug in the new fuse in place. Then close the fuse box cover and reinstall the motorcycle seat (here is a step-by-step guide to replacing a blown fuse).
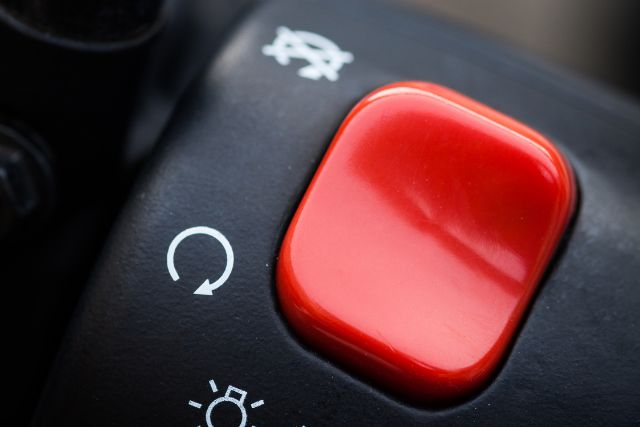
#5. Kill switch issues
In some motorcycles, it’s the kill switch that causes the sparking problems.
Sometimes it’s pretty simple.
You might have forgotten to turn the kill switch OFF.
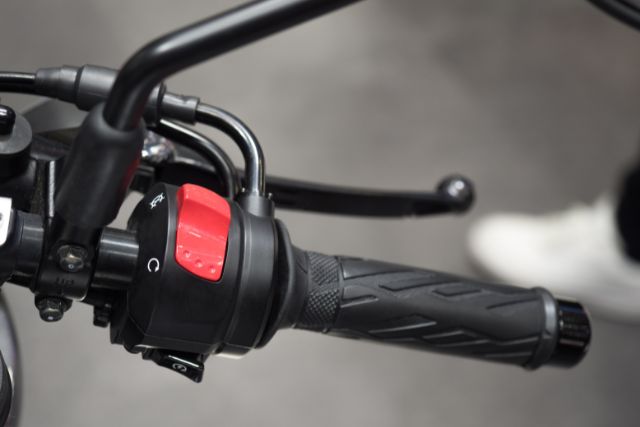
And that’s causing the starting problem in your motorcycle.
If that’s the case, turn the kill switch OFF and try starting the bike.
But more often than not, it’s not just a beginner mistake. There is something wrong with the kill switch circuit.
You have to unplug the wires to test thoroughly.
How to check:
Start with the kill switch wires. Unplug them.
Use the multimeter to check the resistance.
Turn the kill switch ON and OFF. The multimeter reading should change.
The change in resistance levels indicates that the kill switch is working fine.
If not, there is something wrong with the kill switch.
How to fix:
If there indeed is a problem with the kill switch, you have to address it thoroughly.
Often, it’s not just a problem with the kill switch button.
The entire circuit may have broken.
If the self-starter is clubbed with the kill switch, then it is too complicated to handle alone.
The best solution is to take your motorcycle to the dealer or the service shop.
And address the kill switch problem there.
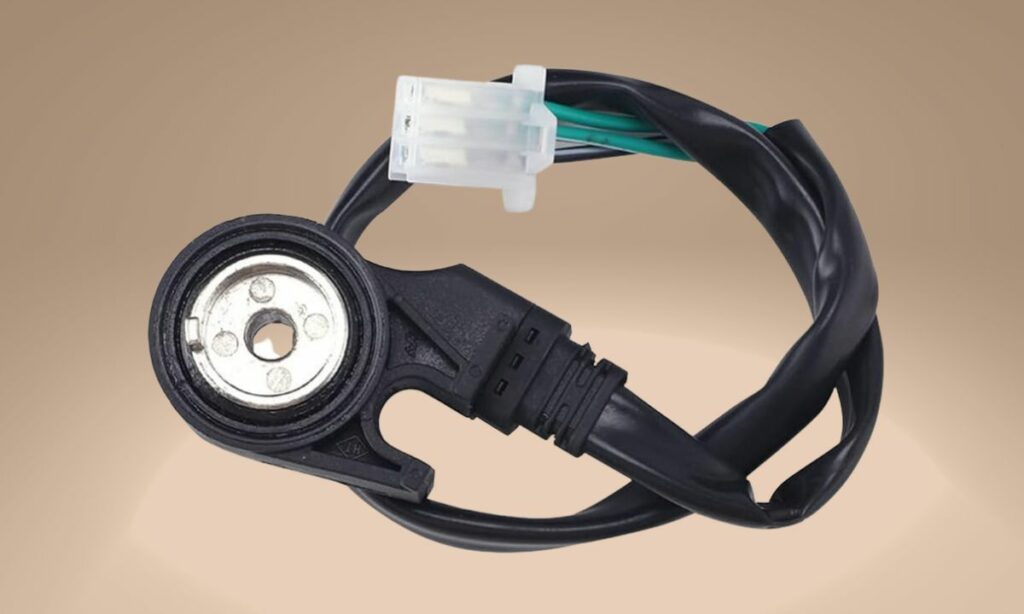
#6. Damaged safety switches

Many motorcycle models have safety switches that prevent the motorcycle from sparking and hence, starting if the switches are not closed.
These types of switches are especially common in Japanese motorcycles.
The kickstand (also called side stand) safety switch, neutral switch, and clutch safety switch are the main ones.
Check if the switches are closed or if they are damaged.
How to check:
Check first which safety switch is at fault.
More often than not, it’s the kickstand safety switch.
Still, check whether the motorcycle is starting when it is in neutral gear.
For clutch safety switches, try starting the motorcycle with the clutch pulled in.
These kinds of clutch safety switches are especially common in scooters. You have to pull the clutch or the brake lever to start the bike.
Next, make sure the bike kickstand is not on the ground. The safety switch prevents from starting in such cases in many bike models.
To make sure the kickstand safety switch is working fine, check the resistance with a multimeter.
The resistance should vary significantly when it goes from closed to open.
If not, the switch is faulty.
How to fix:
More often than not, it’s the kickstand (side stand) safety switch that gets damaged.
If that’s the case, you have two options.
One, you can replace the safety switch.
The kickstand safety switch can easily be bought online or nearby auto shop. Then replace the old switch with the new one.
Or two, you can bypass the safety switch.
For bypassing, you have to cut the safety switch off and then insulated the cut wires.
If you are not sure, don’t DIY. Take it to a service shop and ask the mechanic to do that for you.
#7. Ignition coils or pickup coil problems
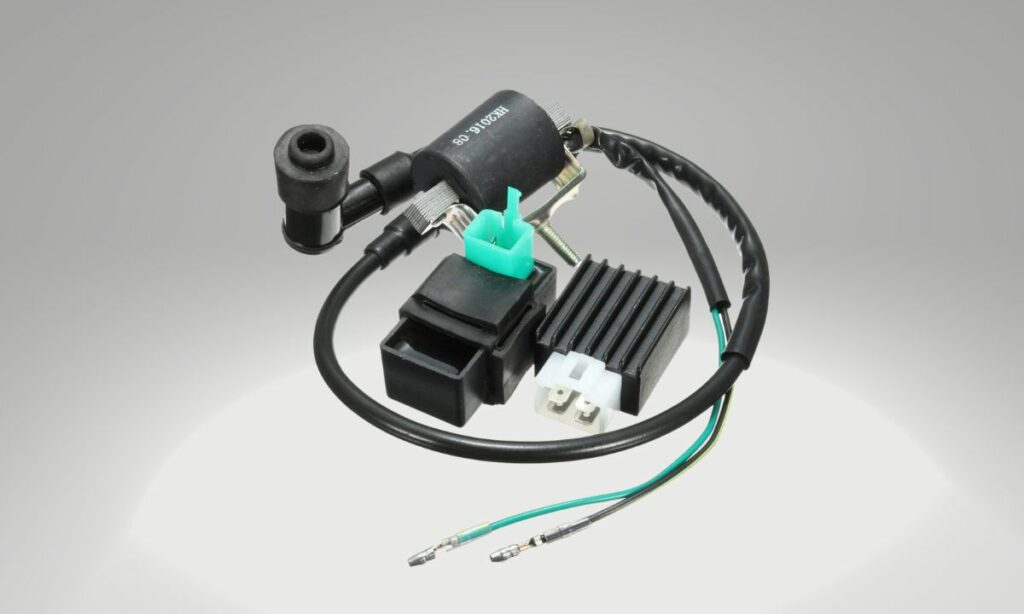
If all the above causes are not the culprits, then the coils are the problem.
The ignition coil(s) is located right below the gas tank.
The pickup coil is usually located underneath the engine side cover.
You need to test both.
The inspection process is the same. Let’s get down to it.
How to check:
Connect the multimeter leads to the coil and check the resistance.
Set the multimeter reading to ohm (Ω) reading.
The ignition coil resistance should be between 2 to 5 Ω. Check your owner’s manual to find the right desirable resistance.
The secondary coil resistance should be between 5 to 20 kΩ.
Check both resistances.

If the multimeter reading shows the ignition coil does not have the right resistance levels, you have to change it.
Repeat the same process for the pickup coil as well.
The pickup coil resistance will be higher as well. Somewhere around 600 to 700 ohms.
How to fix:
If the resistance is not right, the only solution is to replace the coils.
You can purchase the coils either online or at auto parts stores.
Replace the coils. And fit them back into the motorcycle just as you would refit the old coils.
If you are not sure, ask your dealer to take out the coils, check the resistance, and replace them if necessary.