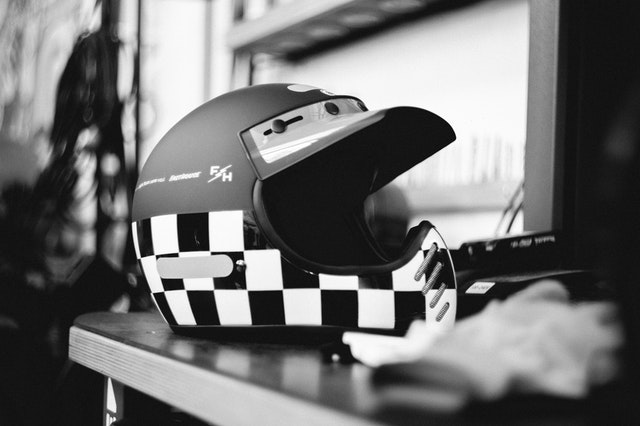
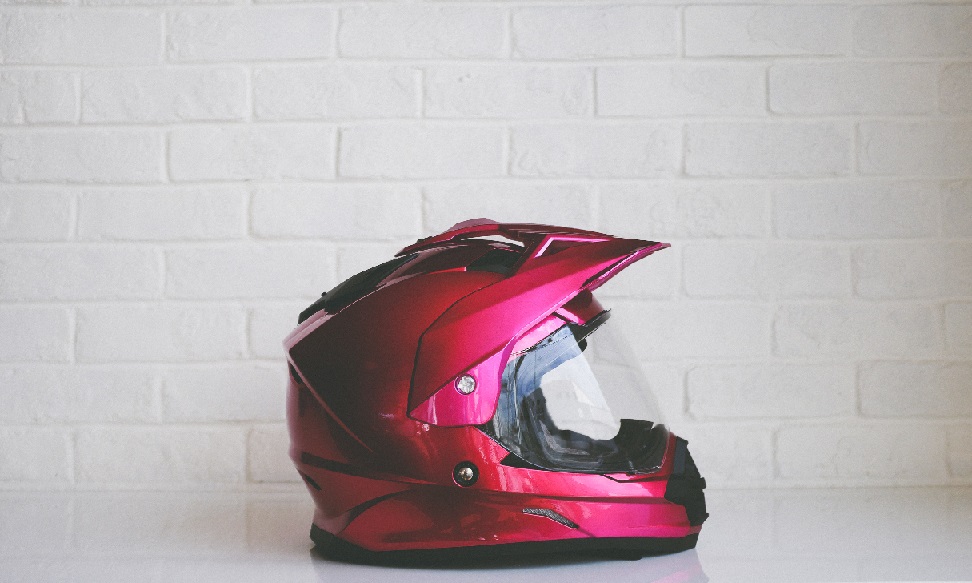
You have bought a new two-wheeler and the existing helmet graphics of your old helmet don’t seem to match the latest arrival.
Or you feel it’s time to flaunt your individuality and impress your friends who you are with a custom-painted helmet.
Now, the practical question is, can helmets be painted like other parts of a 2-wheeler?
Can you paint your motorcycle helmet? It is possible to paint motorcycle helmets safely if the paint chemistry allows it to do so without impacting the safety aspects. One can use urethane-based rattle spray cans, water-based acrylic paint and inks or even, enamel based paints – to paint helmets.
If you have a compressor spray paint set-up, you can also use some nitrocellulose (NC) or 2K paints safely.
Before we dive into the definitive answer, there are some technical considerations that need to be considered. This is because the basic job of the helmet is to protect the rider and its safety characteristics cannot be tampered with.
Can Motorcycle Helmets Be Painted?

Motorcycle helmets can be painted as long as it does not interferes with its paint chemistry and tampers the existing safety measures.
Painting helmets can be an aspirational feeling of freedom that comes with a lifestyle that one wants to remember and cherish.
Part of that freedom comes from being able to do so and not be limited by legislation or technical issues. Being able to carry your helmet all custom painted is a liberating feeling.
However, all 2-wheeler (motorcycle/scooter) helmets sold to customers must carry the Standard safety certification mark according to their country’s regulations.
Imported crash helmets have DOT, ECE, SHARP or SNELL safety ratings.
Custom painting of helmets in some countries is an art form, but one must adhere to local laws when doing so as some states have specific set of interpretations related to the painting of motorcycle helmets.
Helmet vs Paint Chemistry
Whether you can paint your helmet depends on the chemistry of the paint. Therefore, the straight answer is both yes and no.
The first thing to find out what is the outer shell of the helmet is made of — Fibreglass, Carbon fibre, Kevlar or ABS plastic. This will determine what kind of paints can be used.
Secondly, you must keep in mind that solvents found in some paints may react with the helmet material and reduce the protection it provides by altering its chemistry.
Before you jump into the project to paint a helmet, there’s a word of caution related to the type of paint that you can use safely and those that are strictly no-no.
What Kind Of Paint Should I Use On My Bike Helmet?

Several choices are available for DIY painters or professional service providers.
DIY enthusiasts can opt for urethane-based rattle spray cans. Do read the manufacturer’s recommendations related as to where they can be used safely.
Free hand artists may use water-based or enamel based paints.
Air-brushing enthusiasts can use water-based acrylic paints or inks and even certain enamels.
If you have a compressor spray paint set-up, you can use some nitrocellulose (NC) or 2K paints safely. Always refer to the manufacturers instructions.
Besides the paint or base coat, you may need a clear coat application for the desired finish — matte, satin, or gloss. For more info, here is our explainer on different paint finishes.
Steps To Paint A Motorcycle Helmet Yourself
Once you are clear that the helmet can be safely painted, then you will need to prepare the surface for it.
To get a professional and cool looking paint job, preparation is the key to its success or failure.
Here are the key steps you need to follow, starting from preparing the helmet surface to all the way to giving your paint a finish.
Steps:
#1: Choose a dry, well-illuminated and ventilated place to do the job.
#2: If you are planning to paint a new helmet, then choose a light coloured one with matte finish. Also make sure the helmet is not too old or expired.
#3: Remove carefully all fittings like visor, hinges, beadings. Remove stickers and clean gum residues.
#4: If the helmet is old, a cracked, dirty or oily surface will show up if not attended prior to painting. The surface must be cleaned adequately for the paint. Here is a step-by-step guide on helmet cleaning.
#5: Begin by degreasing the surface first. Use sponge and soap water. Rinse and wipe dry with lint-free cloth (microfibre towels work best).
#6: Use a clean Scotch Brite scrub pad to prepare the surface for paint. This step is needed for paint to adhere, the surface must be clean and rough. Running the scrub pad will roughen the surface.
#6B: Alternatively, you may use wet/dry branded water paper like 3M or Wurth.
#7: Start with 180 grit followed by 220 and 320. Use light soap water during the wet paper application.
#8: Wipe with clean damp cloth and check surface for uniformity. Avoid overdoing and damaging
#9: Fill cracks with NC or 2K filler and sand it after it dries using same grit paper as described above.
#10: Once the surface is ready, give it a final wipe with Isopropyl alcohol (IPA). This will help remove any fingerprints, oil marks and fine dust particles.

#11: Next, use masking tape to cover surfaces that you don’t want painted.
#12: For durable and long-lasting results you will need to use an adhesion promotor (primer) otherwise paint will peel off after a while. You don’t want this to happen to your creativity! After a coat or two, wet sand the dried surface with 320 grit paper.
#13: If you are using enamel paint, you can paint it directly over the surface that has been primered (depending on color).
#14: If you are planning a light or pastel colour, it is advisable to use a light grey or white surfacer over the primer for best results.
#15: When using NC or 2K paint, the processes are different after primer layer is done.
#16: After primer (NC or 2K) you may want to put a layer of surfacer that will help in superior final finish.
Do remember, the solvent for NC and 2K are not intermixable and the paint process (steps) are different. Check with your paint provider for the correct consumables and processes.
#17: After the surfacer has dried, you can spray your base color.
If you are planning for custom graphics, then let the base paint dry for 24-48 hrs at least before applying masking or painters tape.
The number of layers will depend on the color and design you have in mind.
#18: Draw your lines (design/pattern) with soft pencil and use tape cutting knife to remove unwanted material.
Once, the paint has dried and the masking tapes removed, give it a thorough look through for faults or overspray.
#19: Clean as necessary with rubbing polish or 2K polish.
#20: After the painted surface has been smoothened out and defects corrected, light wet sand with 1000/1500 grit. You may notice that that paint appears blurred.
Don’t worry about this aspect as the final clear coat will fix the issue.
#21: Before the clear coat, repeat the cleaning process with IPA.
#22: Clear coat can also be applied on top of water-based acrylics safely. Do follow the manufacturer recommended solvent and hardener mixing ratios.
#23: Let the clear coat dry for 96 hrs. After this you can light buff it with finishing compounds for factory finish.
Do’s And Don’ts Of Helmet Painting
- If it’s a new helmet, opt for a matte finish one without stickers. To know more, here is our post on matte vs glossy finish.
- Water-based paints are safest to use on helmets.
- Use masking tape to cover areas that are not required to be painted.
- Let each layer of paint dry before applying the next one allowing every layer to properly bond to the surface. This will help keep the paint from peeling of later on.
- If you want to spray paint your helmet at home, opt to use an airbrush if you have one. Otherwise, you can a spray paint can.
- Avoid over sanding the painted surface of your helmet. If you sand off the existing paint off your helmet, you may inadvertently damage the surface of the helmet.
- Always inspect safety tags and labels that came with your helmet. Particularly, look for any warnings about types of paint that should be avoided.
- Do not paint over the safety labels.
- Avoid frequent re-painting of helmets.
- Never mix different types of paints (NC/2K/ Enamel).
