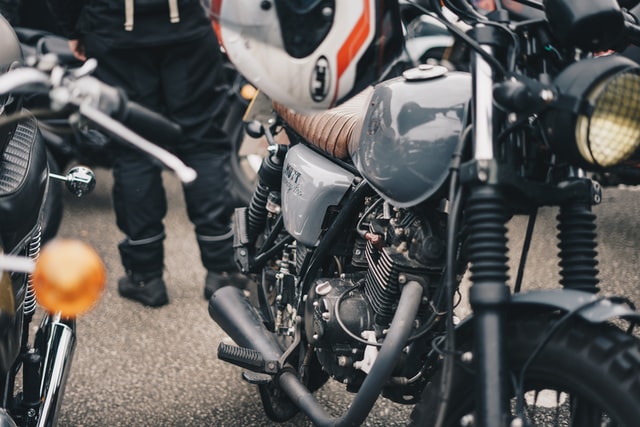
Aged motorcycles have their exhaust all scratched up and rust forming all over the chrome plated surface. You might be pondering about painting the exhaust in order to address the rust and also to improve the overall look of the bike.
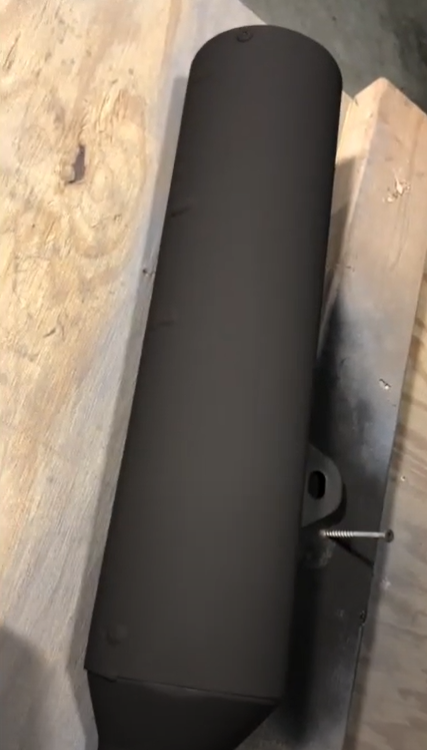
So, can you paint the motorcycle exhaust? Motorcycle exhaust can be painted with high temperature paints. The paint will prevent rust formation, withstands heat and enhances the aesthetics of the motorcycle. Painting a motorcycle exhaust will roughly take 5 to 6 hours.
Let us look into the reasons why motorcycle riders paint the exhaust and the steps for painting in detail below.
Why Do People Want to Paint Exhaust?
Most motorcycles do not have paint on their exhaust.
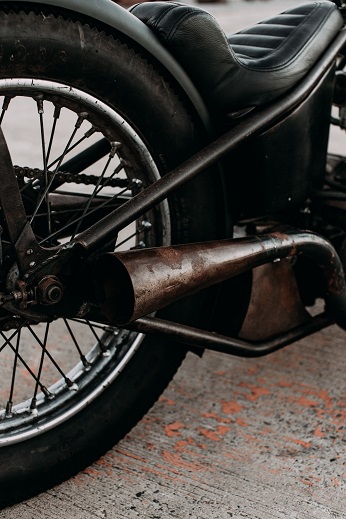
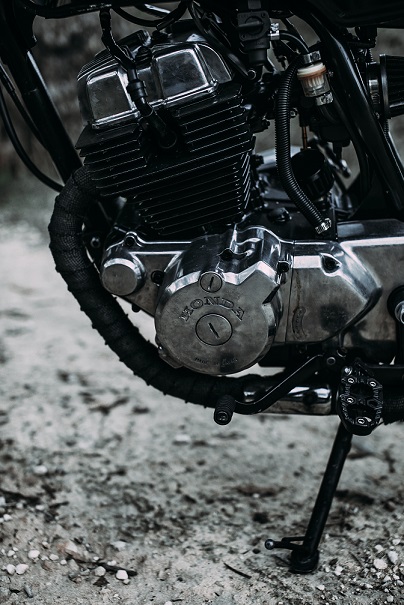
The commonly used material in the exhaust is stainless steel. And there will be chrome plating on the steel pipe. Other than that, there will be no coating or paint provided,
While the stainless steel and chrome plating might suffice for many motorcycles throughout their lifetime, some bike riders prefer painting their exhausts.
The painting is mainly because of these reasons.
- Paint prevents rust formation
- Enhances heat withstanding capability
- Protects the exhaust from scratches
- Improves aesthetics of the motorcycle
#1. Paint prevents Rust formation
The stainless-steel material of the exhaust pipe, despite the chrome plating, is vulnerable to rust formation over the years.
Painting the exhaust pipe will prevent the reaction between the steel and the air. The oxygen won’t be able to react chemically with the steel to form any type of oxidized layer here, when coated with the paint.
That’s why many motorcycle riders prefer painting their motorcycle exhaust since it will prevent any formation of oxidized layer, hence the rust, on the exhaust pipe.
#2. Enhances Heat Withstanding Capability
The exhaust has to withstand high temperatures since the exhaust gases coming from the engine flow at extremely high temperatures.
If the air-fuel mixture is not right in the engine, the temperature of the exhaust will soar. And, sometimes the stainless-steel material of the exhaust won’t be able to withstand such heat.
This high temperature in the exhaust usually results in coloring or more commonly, bluing of the pipe.
The change in color of the exhaust pipe is purely because of the oxidization layer formed on the pipe due to high temperatures.
And painting, especially ceramic ones, helps the exhaust to withstand such high temperatures. The coating will resist any formation of oxidization layers, thus preventing the coloring or bluing of the exhaust pipe.
#3. Protects the Exhaust from Scratches
While painting the exhaust may not completely help in preventing scratches, it surely will reduce the damage caused by these scratches.
The plain stainless-steel material is much more prone to scratch and damages and eventually reducing its performance.
However, applying paint on the pipe will reduce the impact of such scratches and mitigates the damages to a significant effect.
#4. Improves Aesthetics of the Motorcycle
Lastly, painting your motorcycle exhaust will enhance the overall look of the motorcycle.
The plain steel on the exhaust while look okayish on your motorcycle, a grey or black exhaust will take the aesthetic part of your bike to another level.
Also, it is quite uncommon to see painted exhaust in motorcycles. So, don’t shy away to enhance the look of your motorcycle by painting the exhaust pipe.
How to Paint Motorcycle Exhaust?
To paint the exhaust, here are the things you need to have before starting the process.
Prerequisites
- Sand Paper
- Grease Remover
- Hot Temperature Primer
- Hot Temperature Paint
Now, let us go through the steps that one needs to take to paint a motorcycle exhaust.
Step 1: Dismantle the Exhaust Pipe
The first step is to remove the exhaust pipe from the motorcycle. Use the required spanners and screw drivers if necessary, to dismantle the exhaust pipe from the motorcycle.
Step 2: Use Sand Paper to remove Rust
Now, the removed exhaust pipe won’t have a smooth surface finish on them because of the rust, dust and scratches accumulated over a period of time.
Use different sand paper sheets to remove this rust from the chrome plated surface of the exhaust.
Step 3: Clean the Exhaust
Once you have removed the rust and brought back the shining on the surface, it is time to clean the exhaust from the grease and wax.
Use a grease remover to clean the exhaust pipe. You would want a clean and neat pipe before you start spraying the paint.
Step 4: Hang the Exhaust for Easy Painting
There are many ways to spray painting a component. However, we find it easier if you tie the exhaust on a rope where it is freely hanging.
It doesn’t take much effort either. Tie one end of the rope to exhaust and the other end to somewhere wherein the pipe has room to breather. The exhaust should be able to rotate freely. You can easily spray the exhaust with a free hanging one than if you restrict the movement.
Step 5: Spray the Primer
Let’s start the painting now. We need to start with the primer.
Make sure both the primer and painting you are buying for the exhaust should be high temperature paints. That is, the paint should withstand high temperatures.
Regular paints wont work for exhaust as they would come off when faced with high temperatures due to the heat coming through the exhaust gases.
Once you have bought the right type of primer and paint, all you got to do now is spray them. Start with the primer. Spray it on the exhaust pipe and make sure all the intricate parts are coated as well.
Step 6: Let it Dry for an Hour
Once you have sprayed the primer on the exhaust pipe, it is time for drying out. Provide sufficient time to dry out before you start spraying paint.
A sufficient time can be somewhere between half an hour to two hours depending on the weather out there.
We suggest one-hour time frame as we feel that provides more than enough time for the primer to dry it out.
Step 7: Spray the Paint
Once the primer has dried on the exhaust surface, it is now time for the main course. Spraying the paint.
Again, the paint should not be a regular one, but a high temperature paint.
So, spray the paint all over the exhaust. Make sure the paint coating is thick. Be generous in spraying and if necessary, buy some more of the paint.
Step 8: Dry it Out; Repeat with 3 coatings
Similar to what you did after spraying the primer, dry out the exhaust after paint spraying as well.
Again, one hour time is sufficient for the exhaust to dry completely.
Once the paint has dried out, check the exhaust whether the paint coating is uniform and has been sprayed all over the surface. Even the intricate and complicate parts.
Repeat the painting and drying process for at least 3 times in total for the paint. This repetition is because you want a clean, thick and uniform paint coating on the exhaust. For that, just a single layer on primer won’t be enough.
So, spray the paint on the exhaust 3 times with an hour of break in between for the exhaust to dry out.
If you feel there needs some more finishing and some paint is required, feel free to go for one more round of paint spraying. Dry the exhaust out after each round of paint spraying though.
Step 9: Fit the Exhaust back to the Motorcycle
Once the paint has dried out, inspect them for uniformity and whether the paint has been coated to all the nitty-gritty surfaces in the exhaust.
After making sure the painting is done right, it is time for you to fit the exhaust back into the motorcycle.
Once fitted back, try a test run on neutral to check whether the exhaust gases are flowing through the exhaust pipe.
If there are any leakages, you have not fitted back the exhaust pipe properly. Check for the leaks and address the area and connection where the leak is happening.
Alternatives for Painting the Exhaust Pipe
An alternative to painting the exhaust pipe is using an exhaust wrap.
Exhaust wrap is easy to apply on the exhaust pipe and will hardly take 2 to 3 hours of time in the garage.
In addition, exhaust pipe helps in controlling the engine temperature and is also aesthetically pleasing in motorcycles. However, if you live in an area with heavy rains, water can get into the exhaust wrap and if left unchecked, it will start smelling bad.